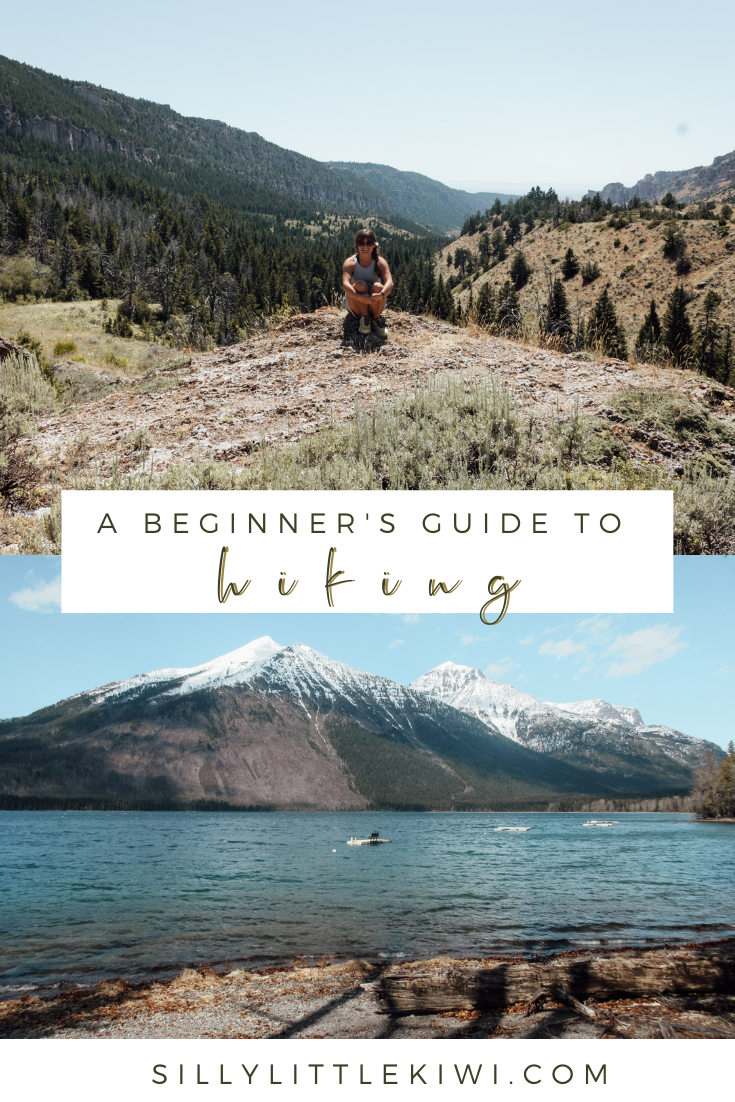
hiking for beginners: awesome tips + how to get started
Ready to hit the trails but new to hiking? This guide offers awesome tips for beginners, including how to get started, what gear you need, and how to stay safe and comfortable on the trail.
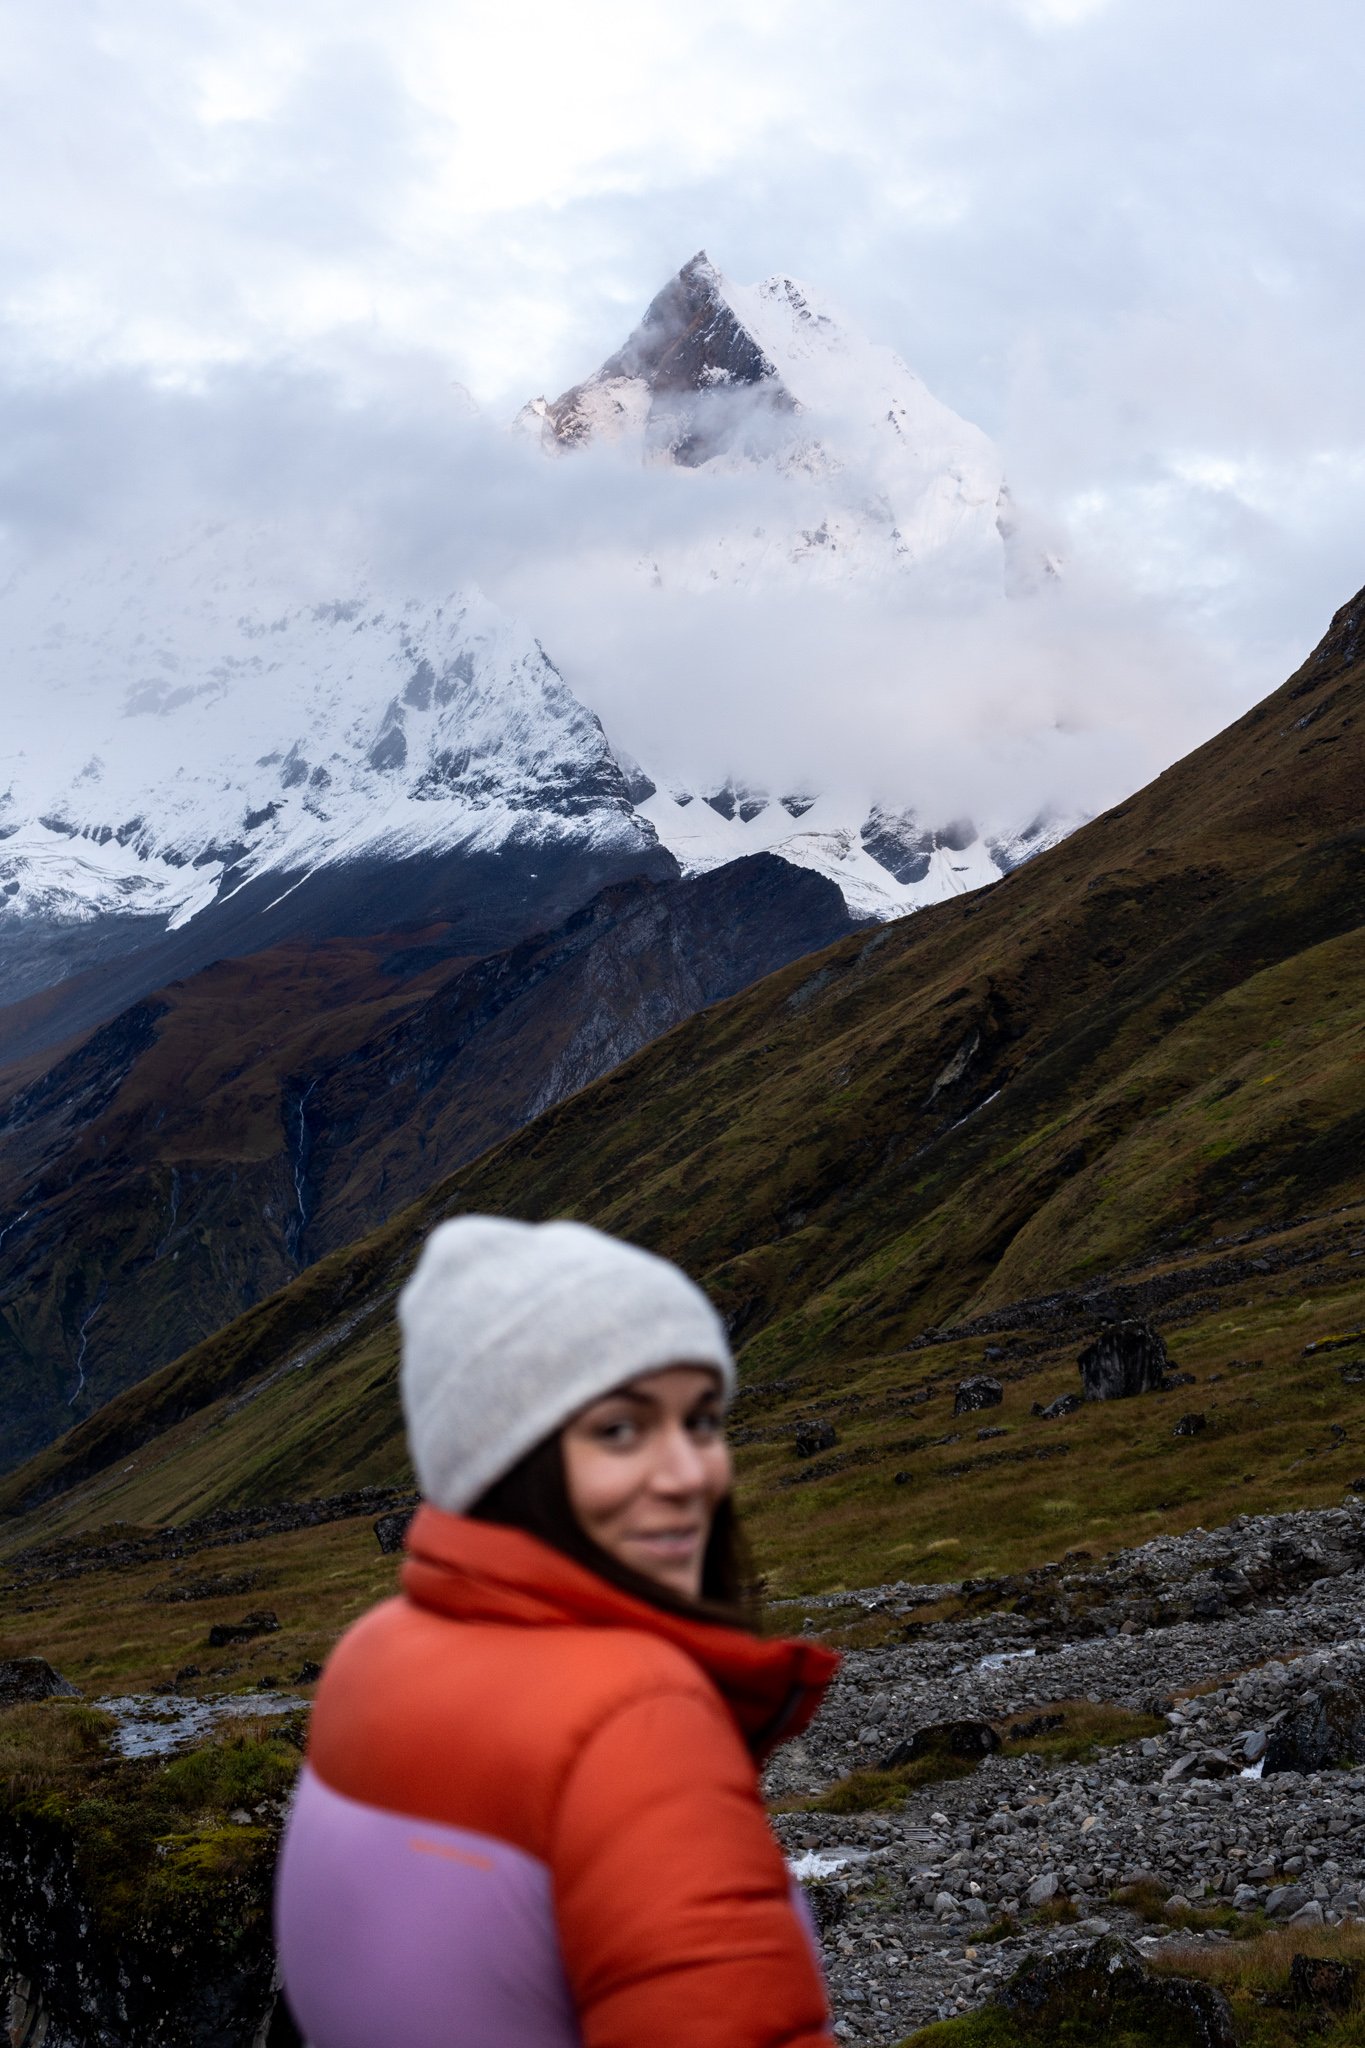
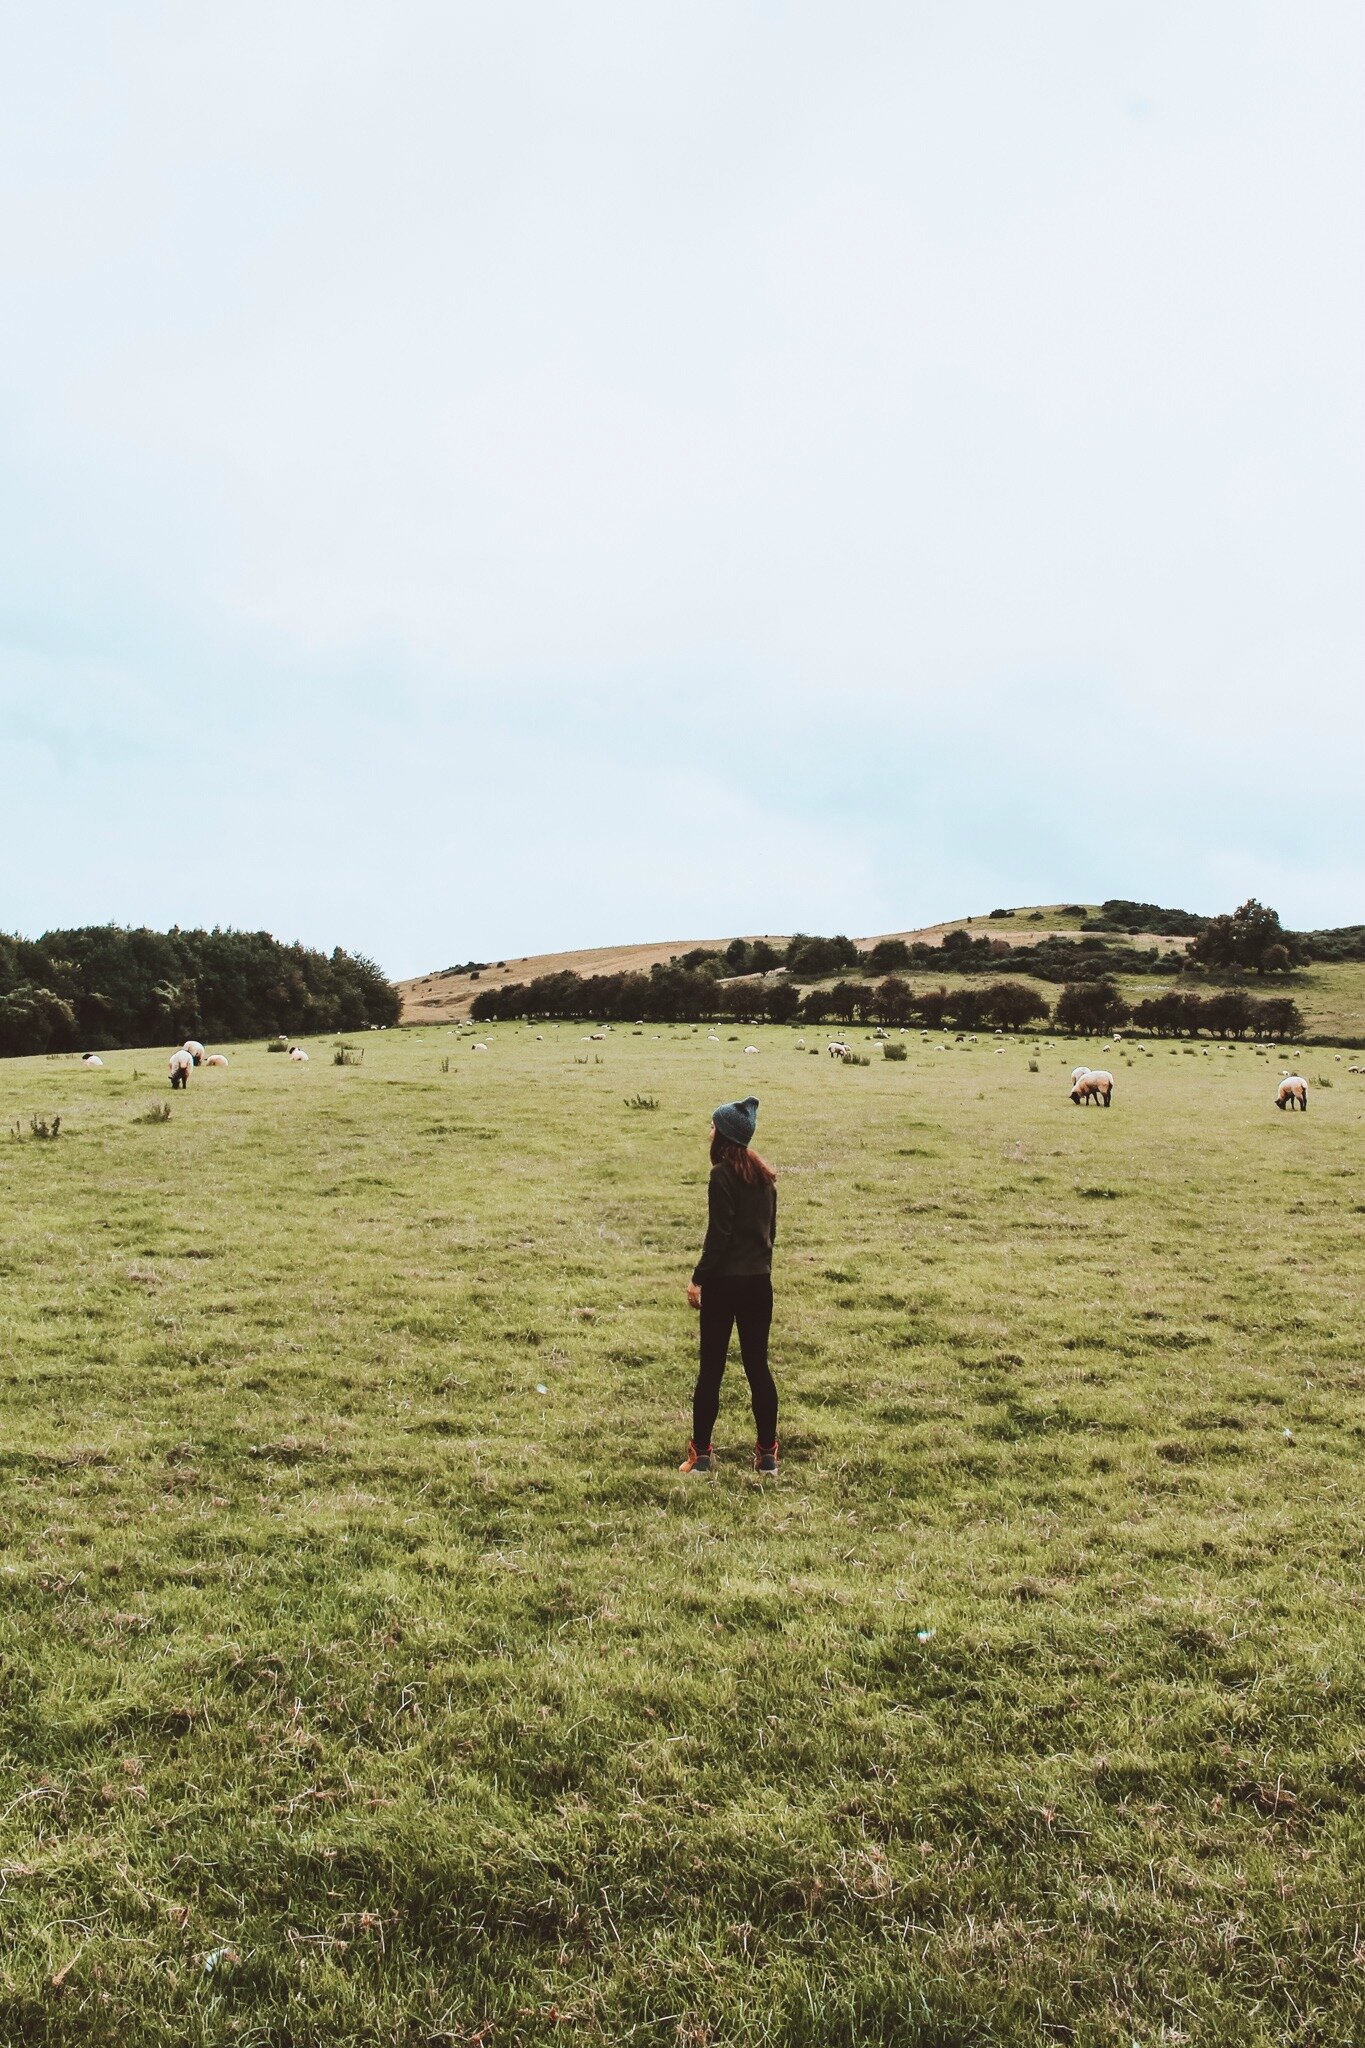
I love hiking. As a teenager in South Dakota’s Black Hills, it was almost imperative that I enjoyed hitting the trails. Everywhere I’ve lived in my adult life has been in close proximity to nature, and hiking has always been one of my favourite ways to get amongst it. What about those who are new to hiking and aren’t sure how to start? For those people, I’ve created this guide filled with tips.
I lucked out. I have a group of friends who love making their way up to the summit, looking over breathtaking landscapes as their reward for making their legs burn. I have also never been far from good trails or bucket list mountaintops. Sometimes, I forget those privileges. But, even I have hit a trailhead completely out of my depth and underprepared.
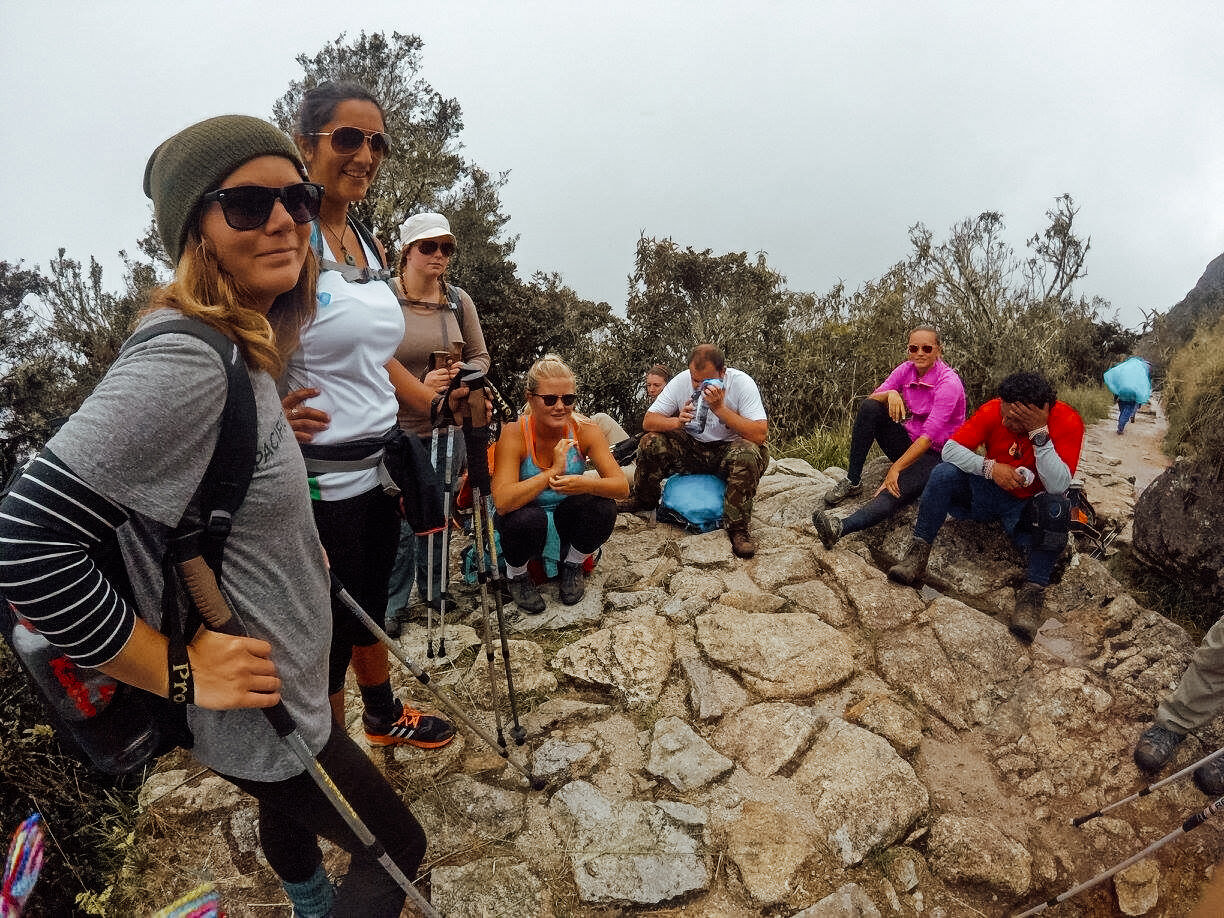
Let me paint a picture for you. Young Tash and young Tara decide to hike the 4-day Inca Trail to Machu Picchu. They are relatively fit, but haven’t summited a large mountain in…ages? Maybe ever? They hike the trail in sneakers, having done nearly no prep. Did they survive? Yes. Was it hard? Yeah, deffo. Would they recommend proper boots and more research? Looking back with a little more life under their belts, absolutely.
Still, hiking shouldn’t intimidate you! No matter your budget, experience, fitness level, or whether you have people to join in on the fun or not, hiking is a fantastic pastime. You just need to know how to get yourself started and some safety tips! Lucky for you, this post is going to break all the hiking know-how down.
how to get trail-ready ↴
find a trail buddy
I have tried to solo hike so many times. It just ain’t my thing. I’d often try to find a trail in Montana when I wanted a break from studying and found that I’d give up and turn around about a mile or two into the hike. Personally, I’m just way less motivated to hike solo. I’d rather share the experience with a friend. I fully believe that trying anything new, hiking included is easier when you have a friend to do it with.
Those who are new to hiking and need an adventure partner, there are some great Facebook groups and online forums to find trail buddies. One of the great things about being an REI Co-Op member that you’ll be in-the-know about all their events, which are great places to meet like-minded people and hiking enthusiasts who might want to connect on the trails someday. They even host beginners hiking courses in multiple locations across North America.
If you’re not bothered by heading out on your own, that’s totally cool. Solo hiking is a great way to clear your head and get some “me time”, but you’ll need to make sure you are extra prepped and follow my hiking safety tips included later on in this post.
get up on your feet
Start small by getting up on your feet! There’s no need to decide you want to “get into” hiking on Monday and head out on a 10-mile trail on Tuesday. Once you decide to try out hiking, make time in the days before you hit the trail to walk around your neighbourhood. Find a nearby track and walk around while listening to your favourite podcast. Grab your friend and head to a local park for a long stroll and a conversation. If you hit head out for a few hours of steep incline, elevation, and hot sunshine right out the gate, your body might not feel so good and you’re likely not to want to give it another go.
Don’t go too hardout before you hike, but move! Light activity is going to warm your body up for the work you’ll ask it to do when you hike.
download offline maps
As you head up mountains, through woods, and along riverbends, you are going to venture further and further away from cell towers. Downloading offline maps will ensure you can navigate your way without getting lost. It will help guarantee you make it back to your car or home safely.
Navigational apps to with maps you can download for use offline:
All Trails
Google Maps
Maps.Me
drink your damn water
HYDRATE BEFORE YOU HIKE! Please, please, please. You can be super fit and have your hiking partner ready to go, but if you aren’t hydrating before you hike, you’re going to be sorry. If you aren’t hydrated from the get-go, the water you drink while on your hike isn’t going to help much.
If you’re already dehydrated prior to any physical activity, you’re not going to be able to make up for it while you’re exerting yourself on a hike. Most guides recommend at least 2 liters of water a day, but if you’re hiking in a dry climate, or in any real kind of heat, I’d aim even higher. For reference, when I was living in Laos, our doctor friends used to recommend that everyone drink around 3 liters per day. It also makes your skin all glowy. So, ya know, win freakin’ win.

how to pick your hiking trail ↴
Alright, so you’re hydrated, limbered up, and ready to go! Great! But…where do you go? What hike do you start with? In this section, I will break down exactly how to choose a trail as a beginner, and resources for finding trails near you.
know where to look for trails
You might be wondering where to find the best hikes near you. I usually learn about hikes from my outdoor loving group of friends or Pinterest searches for National Park trails. Sometimes, I see a summit on Instagram and begin to research it online.
The resources I use for finding trails are:
word of mouth
you can also use my hiking guides
aim between 1-4 miles
The trail distance you choose will vary depending on your fitness level, but 4 miles for first-time hikers is a good starting distance. Anything more than that, and you risk not being able to finish the hike. Remember starting small is the best way to dip your toes in the water without feeling overwhelmed, giving up, and going back to your car.
factor in the time you have
Make sure you consider the time you have when you pick a trail. If you only have 2 hours on a Saturday, a 4-mile hike might be pushing it. Hiking while rushed creates a really stressful experience, so it’s better to pick a trail to hike based on what time you have to dedicate to being out in nature.
transport to + from the trail
While you’re factoring in the time you have to go hiking, you need to also factor in the time it takes to get to and from the trailhead. I’m all for a day trip out for a hike. There’s nothing like renting a cabin or bach and having somewhere to immediately crash after a long, adventure hike. However, if we’re talking beginners {and we are}, it doesn’t make much sense to drive a full day for a 3-mile hike. More than a time issue, if your legs are jelly after a day on the trails, are you really going to want to sit in a car and drive back to your home? I can tell you from experience, the answer is no. If your hike is a point-to-point, you should consider how you are going to get back to your starting point once you’ve finished the trail. Will you have a friend collect you at the end? Can your hiking partner leave their car there, have you drive them to the start {where you leave your car} and from there you’ll both hike together? Is there a shuttle service? These are all good things to know.
consider elevation gain
One of the biggest factors you need to take into consideration when you’re choosing your hike is the elevation the trail gains. Hikes with between 100-400 ft elevation gain are usually great for beginners. If you’re after a bit of a challenge, 400- 1,000 ft elevation gain will absolutely test your fitness. I would save those hikes for later, but more power to you if you’re determined to hit it hard.
know your trail type
Out-and-back? Loop? It might all seem a bit confusing if you’re just starting out. Knowing what type of trail you’re setting off on will allow you to know exactly what you’re getting yourself into.
Loop | On a loop trail, you start at the trailhead going one way and, by the end of the hike, you have walked in a circle {of sorts} to your starting point. Like a loop, get it?
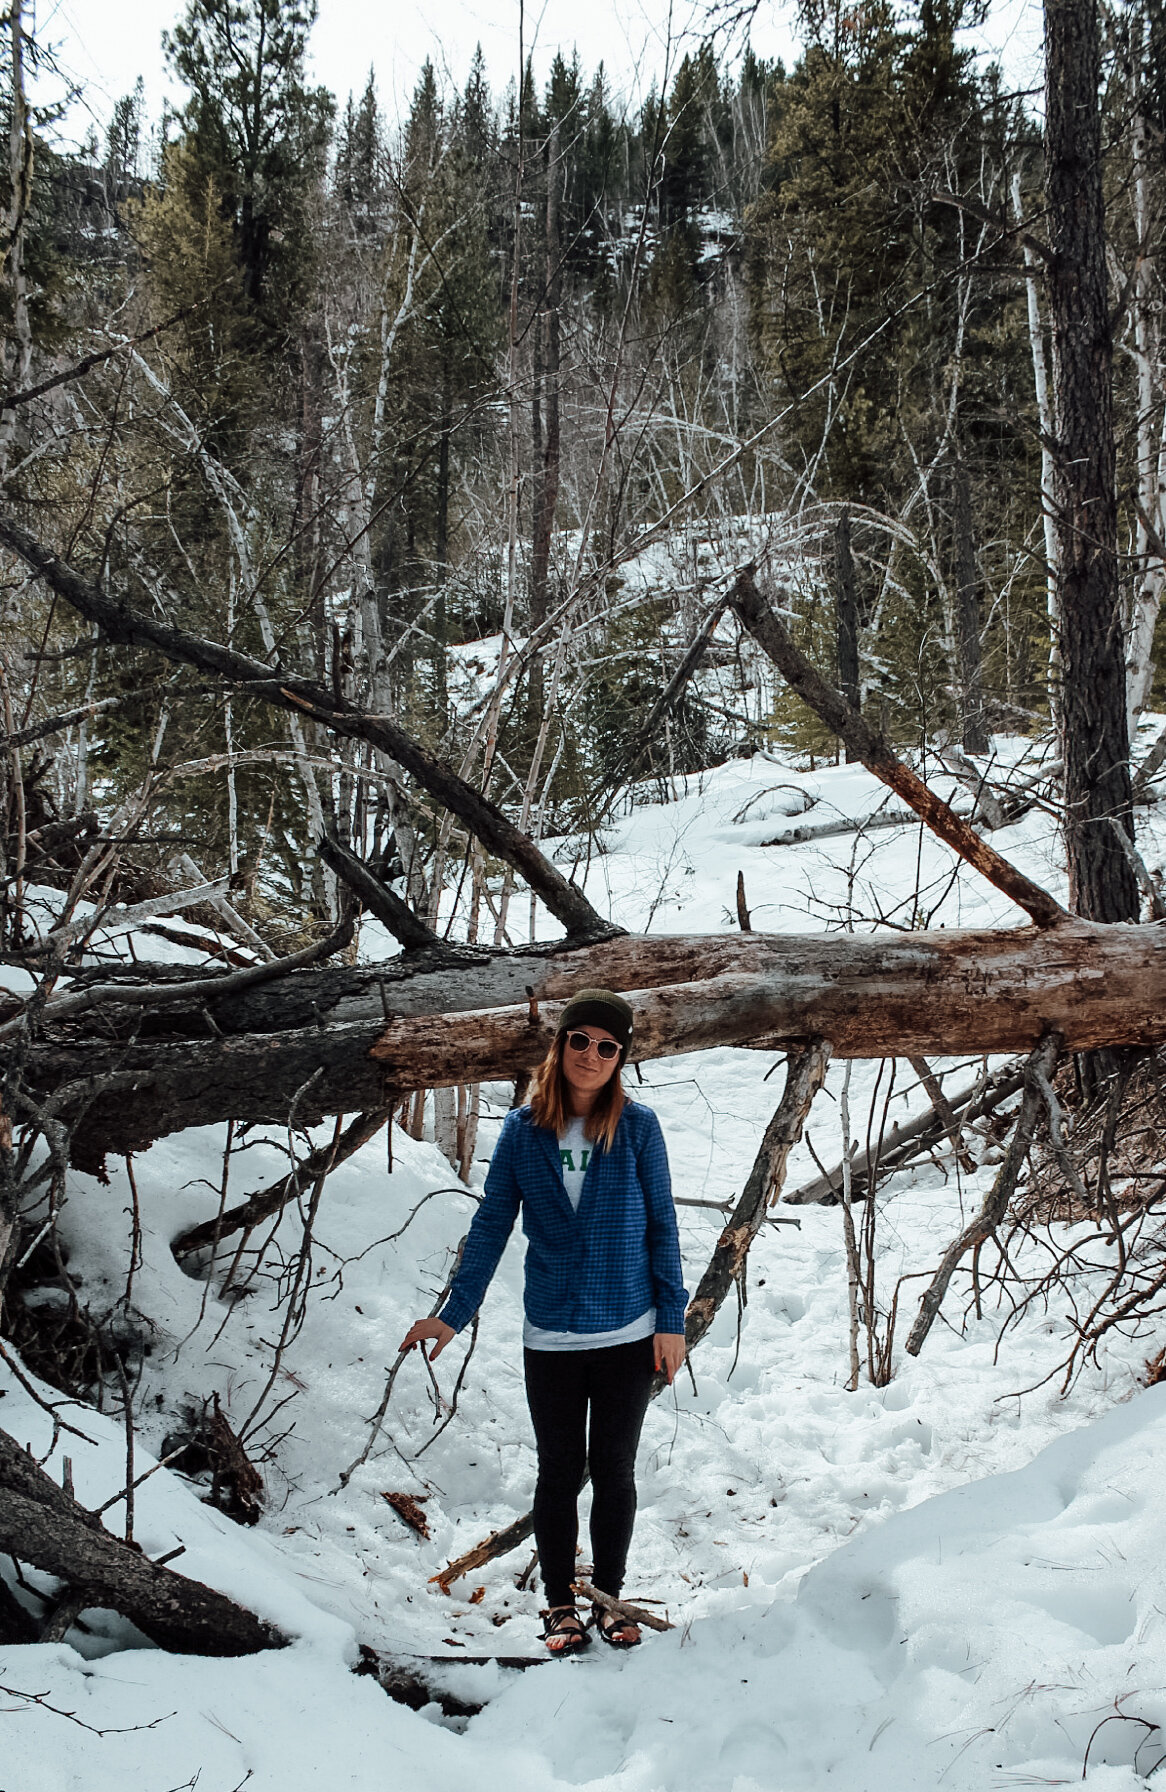
Out-and-back | Hiking an out-and-back means you’ll start and finish at the same location on a single trail. You will essentially return along the same route you hiked, so all the scenery will be familiar to you. These trails are great for beginners, since it’s super easy to navigate. {once you hike to your destination, you literally turn around and hike back the same exact way}. An example of an out-and-back hike I’ve finished is the hike to Crow Peak in the Black Hills.
Point-to-point | These trails start and end in two different locations. Point-to-point trails are often part of multi-day treks or backpacking trips. They could also be parts of longer trails. An example of a point-to-point trail I’ve climbed is the Tongariro Crossing Alpine Trek. A shuttle drops you at the start and another shuttle picks you up at the finish.
consider the weather
Weather is an essential factor in picking a hiking trail. In extreme weather conditions like heavy rain, thunderstorms, or high snow, hiking can be dangerous. If you’re going to hike, make sure you check the weather conditions before your feet hit the trail. You’ll want to look at the weather for the whole duration of your hike. If the weather is good for the first hour but turns in the second, you’ll still get caught in inclimate weather.
hiking gear + suppliers ↴
Perhaps the most intimidating part of trying a new hobby out is knowing what gear you need and where to get it. Fear not, hiking fam. I’ve got you covered.
Before we get into the nitty-gritty, are you an REI Co-Op member? If not, you’re going to want to read this post through to the end to see all the sweet exclusives Co-Op members receive and why it’s worth your money {spoiler alert: it’s the best USD $20 I’ve spent in a long time.
Here are my favourite places to shop for hiking gear + kit:
the ten essentials
“The Ten Essentials” is a list of ten hiking essentials created by a Seattle-based rock climber’s organization to help outdoor enthusiasts prepare for emergency situations. It was originally a list of ten specific items but, over time, it has evolved into a list of ten general gear categories.
Note: The following list was originally found on Mountaineers.org. I’ve amended it for use in this post.
Navigation | map, compass, GPS device
Headlamp | bring extra batteries if your headlamp isn’t rechargeable
Sun protection | sunglasses, sunscreen, protective hat {baseball cap or bucket hat}
First aid | this should be inventoried after every hike
Knife | mini tool kits are great, or Swiss Army knife that work as multi-tools
Fire | lighters, matchers, Jetboil stove, etc.
Shelter | an emergency blanket or pop up shelter is handy on the off-chance that you get stranded somewhere
Extra food | “beyond minimum expectation” {i.e. bring more than you expect you’ll need}
Extra water | “beyond minimum expectation” or bring a water purification system with you {Grayl bottles are great}
Extra clothes | “beyond minimum expectation”
the adventure bag principle
I originally heard about this via the Once Upon a Journey Instagram profile. The basic concept is to leave the trails {or anywhere you wander} better than you found them. Grab a bag and fill it with litter you find along the way— this is, essentially, the adventure bag. I’d recommend bringing one with you on your hike to lend Mother Nature a hand and thank her. Here’s a full article with more information about the Adventure Bag idea.
additional gear
bug spray or insect repellent
beanie or warm weather hat to keep the heat in
biodegradable toilet paper
hand-sanitizer or biodegradable wipes
hiking clothes ↴
In this section, I’ve broken down the {nearly} essential hiking clothes you’ll want to throw on to make sure you’re comfortable and prepared on your hike. Here is everything you need from your head to your toes.
puffer jacket
This is an essential clothing item for any winter hikes or on hikes in colder climates. Truthfully, even on warm weather hikes, I consider a warm puffer {nearly} essential. A lot of summits are windy and cold, so even though the hike itself might be hot, it’s really useful to pack one, just in case. Find one that’s lightweight, durable, and packable.
rain jacket
Weather changes, y’all. You don’t want to be damp during your trek, so make sure you have a rain jacket on hand, in your daypack just in case.
daypack
You’ll need a daypack to bring with you on your hike. This will hold your water bottle, first aid kit, extra clothing layers, etc. Here are the items to take into consideration when hunting down the perfect daypack.
20-35L size. 35L is on the bulky end, so try to avoid packs that big if at all possible.
Waterproof or water resistant to insure your stuff stays dry and clean. You can buy a rain cover if the bag itself isn’t waterproof.
Pockets for water bottle storage with easy access.
base layers
Try to avoid cotton if at all possible. Merino wool is great! Clothing that layers nicely is essential to make sure you are comfortable, dry, and warm whenever necessary.
hiking boots
I hiked around in trainers for so long, and I can tell you it makes a WORLD of difference investing in a sturdy pair of hiking boots. There are a few things to keep in mind if you’re buying your first pair of boots.
Prevent ankle injuries by opting for a mid-ankle boot.
Make sure to wear your boot prior to hitting the trail so that you’re certain it fits and walks comfortably.
Check for boots that are waterproof so that your feet are always dry.
The products I’ve included in this post, which are all pieces I own personally, made me more aware of the financial investment in quality gear that might scare people off. What I’ve linked is kit I own from my favourite sustainable, ethical brands and I think it’s important to note that I have accumulated these bits and bobs over years. If you take this whole list and go out right now to buy it all, you might be overwhelmed by the cost. Don’t be! Whatever you have is good enough to start. Hiking should be an accessible hobby.
Budget buying options for beginner hikers not sure whether to invest right away:
Buy second hand
borrow from an outdoor-loving friend
hire from an outdoor recreation company near you
hiking etiquette ↴
Once you are out on the trails, you’ll need to follow some general hiking etiquette.
leave no trace + take nothing with you | The first rule of being a good advocate for the outdoors is to leave nothing but footprints. Not only is it rude to litter your hiking trails, but it is also incredibly detrimental to the overall environment. Anything that you brought with you on the trail should be taken back when you leave. Take everything back out with you that you brought on the trail. It’s also hurtful to the environment and ecosystems at large to take pretty rocks and pluck flowers as you please. Leave nature where it is and admire it as you go.
yield to uphill traffic | Hiking uphill is exhausting, so naturally, those doing the hardest work get the respect of the right of way.
hike on the right, pass on the left | just like your typical rules of the road…
stay on the trail | No one wants to end up lost in the wilderness, and there are too many things that could go wrong. Aside from injuries or getting lost, walking off the path messes with ecosystems, wildlife, and the general landscape.
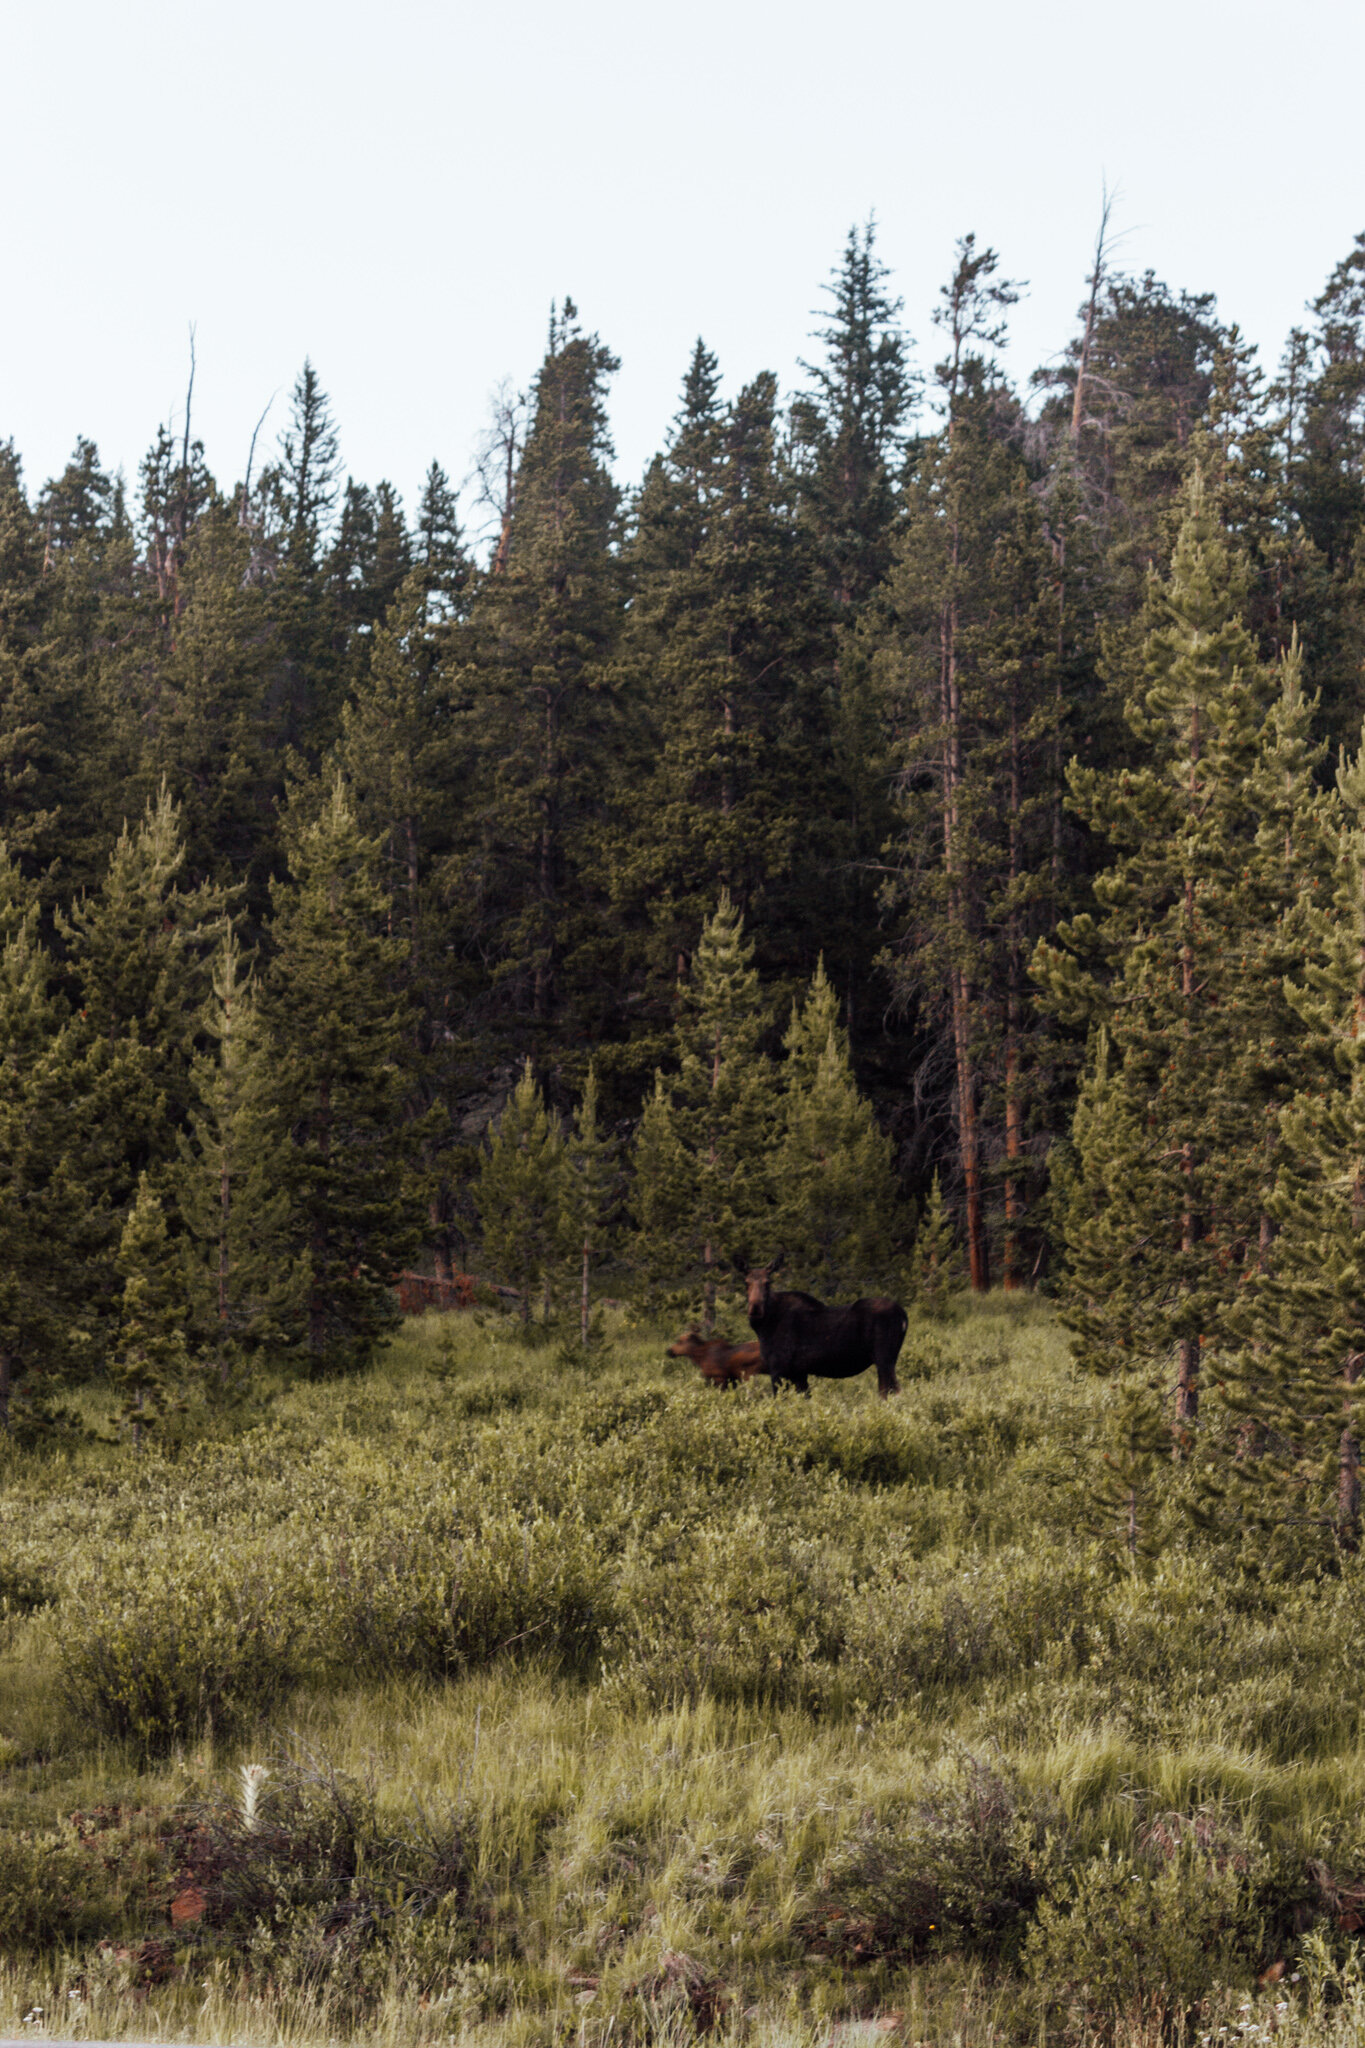
don’t mess with wildlife | Leave the beautiful animals you may encounter alone, even if your intentions are noble. It’s best not to disturb or interact with them or you risk messing with the bigger picture. You might also be doing more harm than good.