
hiking Mount Ruapehu, New Zealand: everything you need to know
Discover everything you need to know about hiking Mount Ruapehu, New Zealand's largest active volcano. This comprehensive guide covers everything from the best hiking trails to practical tips and safety advice.
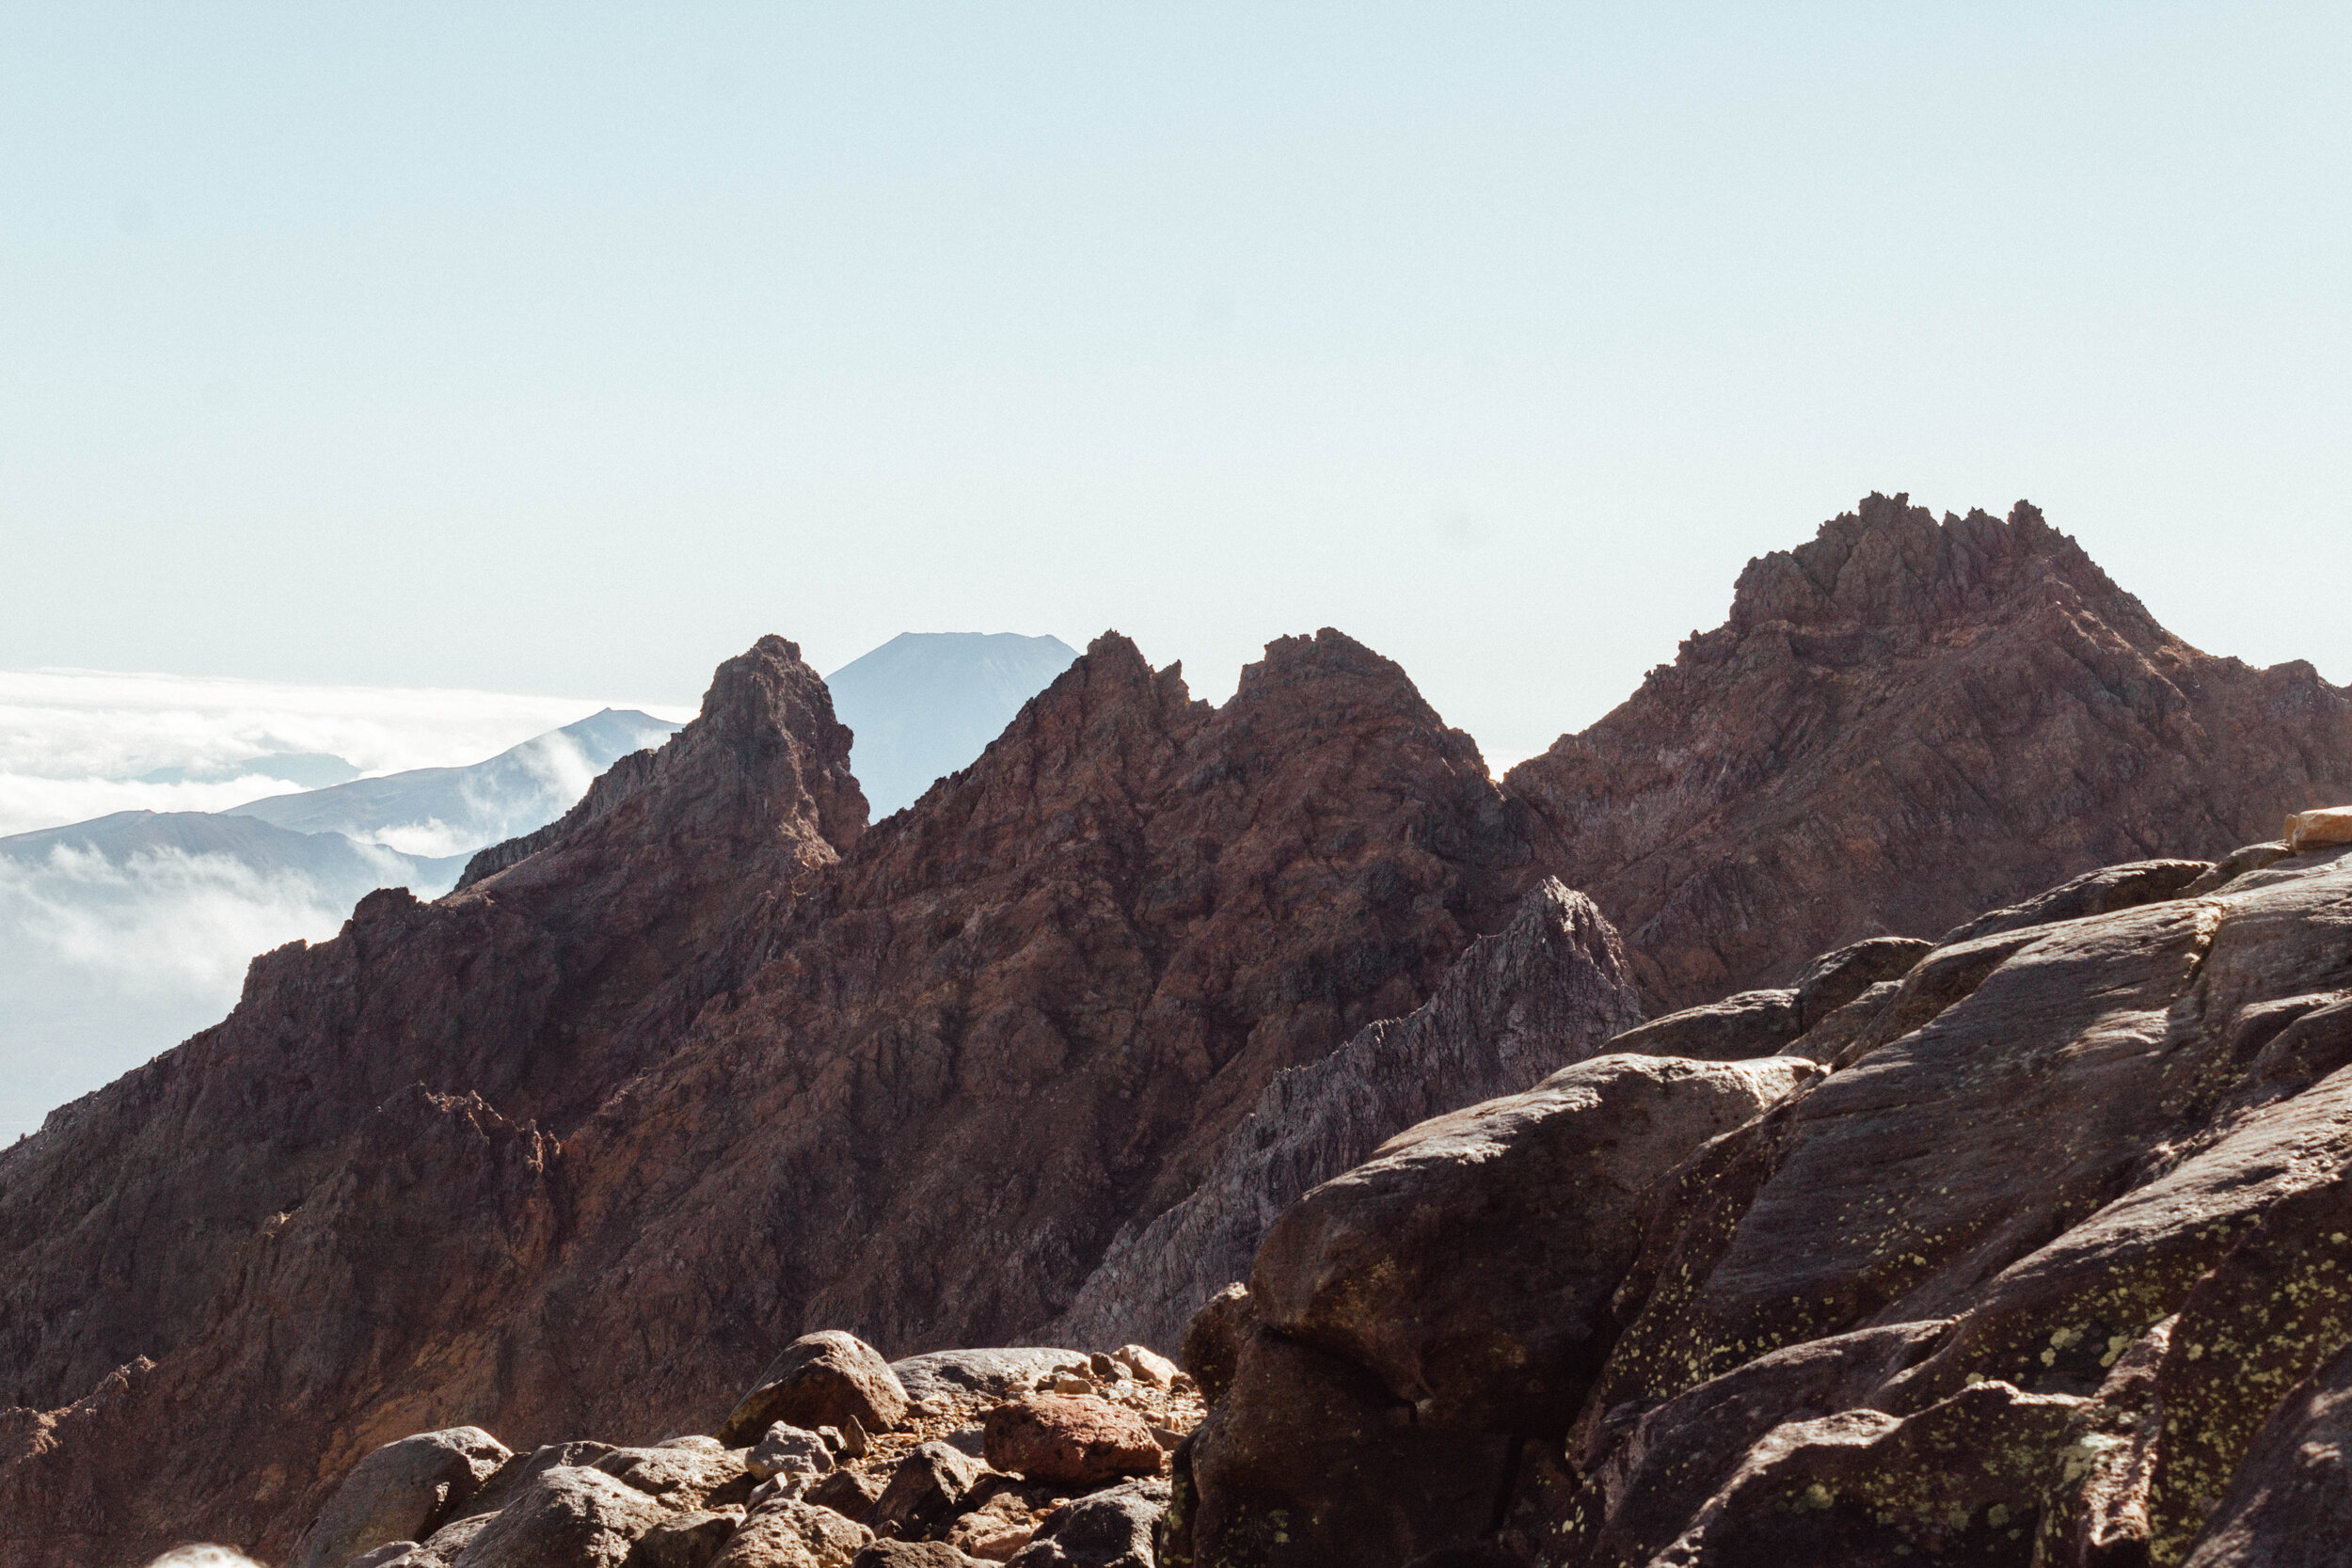
In early March, a few weeks before New Zealand went into its nationwide lockdown, my group of rag-tag friends set out to hike the highest point on the North Island of New Zealand— Mount Ruapehu. We spent the weekend in a massive bach, complete with a trampoline, kayaks, and an outdoor shower. We made family dinners, went for afternoon swims, and hiked the up to Ruapehu’s Crater Lake.
Mt Ruapehu is an active stratovolcano in Tongariro National Park. During winter, Mount Ruapehu becomes a ski region for all the snow bunnies, but during the summer months, it’s a bucket list destination for experienced hikers and adventure seekers.
Since it’s located in Tongariro National Park, the hike up Mount Ruapehu is usually skipped in favour of the famous Tongariro Alpine Crossing. Having hiked the crossing and up to Ruapehu’s Crate Lake, I can tell you that both are worth your time! However, Ruapehu is much less crowded and feels far more adventurous by comparison. In truth, I think the Tongariro is hard to beat up north, but Mount Ruapehu felt extremely badass and entirely special. I’m not sure the two are really comparable apart from the fact that both offer unreal views of this otherworldly island.
guided journey vs. diy trek for Mount Ruapheu ↴
Your first decision when planning your Ruapehu hike is whether to navigate it yourself or hire a guide.
Most of the blogs I’ve found about hiking Mount Ruapehu suggest booking a professional to lead you up near the summit. My friends and I are a little more…adventurous?…than that. We are physically fit and have a variety of experience in regards to hikes and trekking. We got given an absolute scruncher of a weekend weatherwise for our hike. For those reasons {our collective abilities and forecast}, we felt comfortable doing it as a group sans guide. Also, we have Sam and he’s like a mountain goat, ya know? If anyone is gonna get you up a mountain safely in our group of friends, it’s Sam.
Speaking honestly, I’m not sure I see the necessity of a guide if you are experienced but, as always, I would recommend that if you hire one, you do so thoughtfully and hire trusted, local professionals when possible. I only found a handful of companies after a {quick} Google search. Adrift came up quite a few times, so I’ve added their link here.
safety considerations + tips for Mount Ruapheu ↴
The climb is challenging, so only head up Ruapehu if you are an experienced hiker.
If you’re not hiking with a guide, it’s safe and smart to make sure you hike Ruapehu with a friend.
Do not attempt this hike in bad weather. People do get lost and lack of visibility can be dangerous.
The trail to Mount Ruapehu Crater Lake isn’t marked. There is no signage to help guide you.
The route is made of volcanic terrain, so the ground underneath you moves frequently and you should expect some sliding.
Wear proper hiking boots. Some of my crew did it in trainers, but we all agreed hiking boots on the volcanic rock is a safer bet.
There is no where to fill up with water, so bring plenty with you.
Mount Ruapheu has reportedly erupted 60 times since 1945, deeming it a high hazard zone. This shouldn’t deter you, but it’s something to keep in mind when making safety considerations.

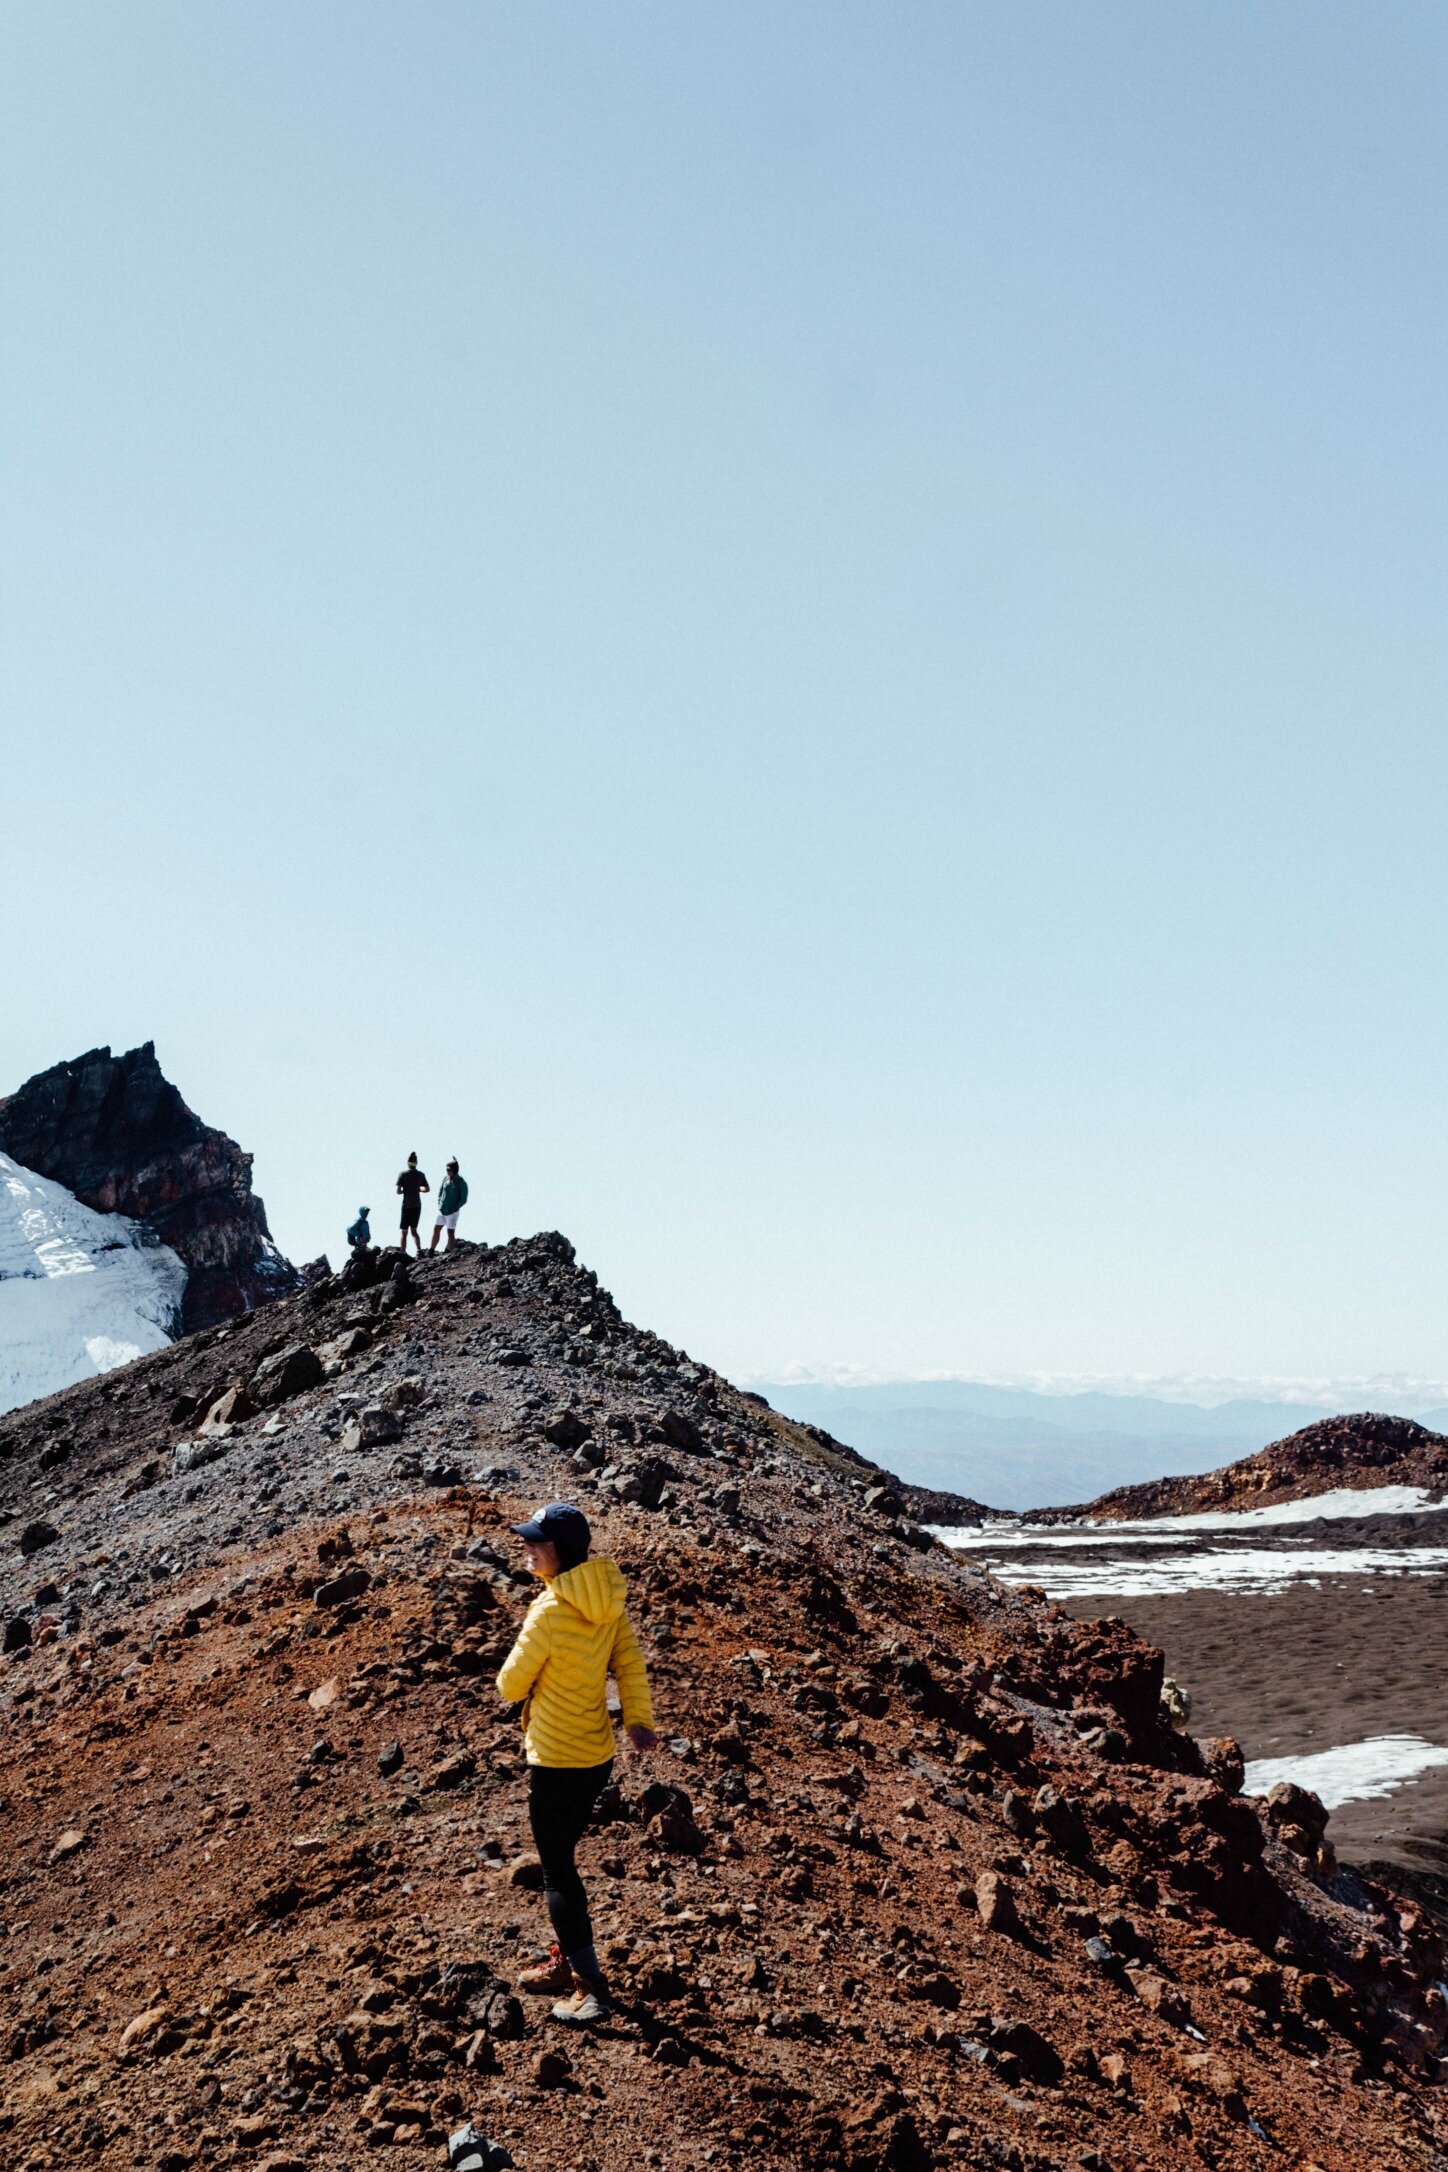
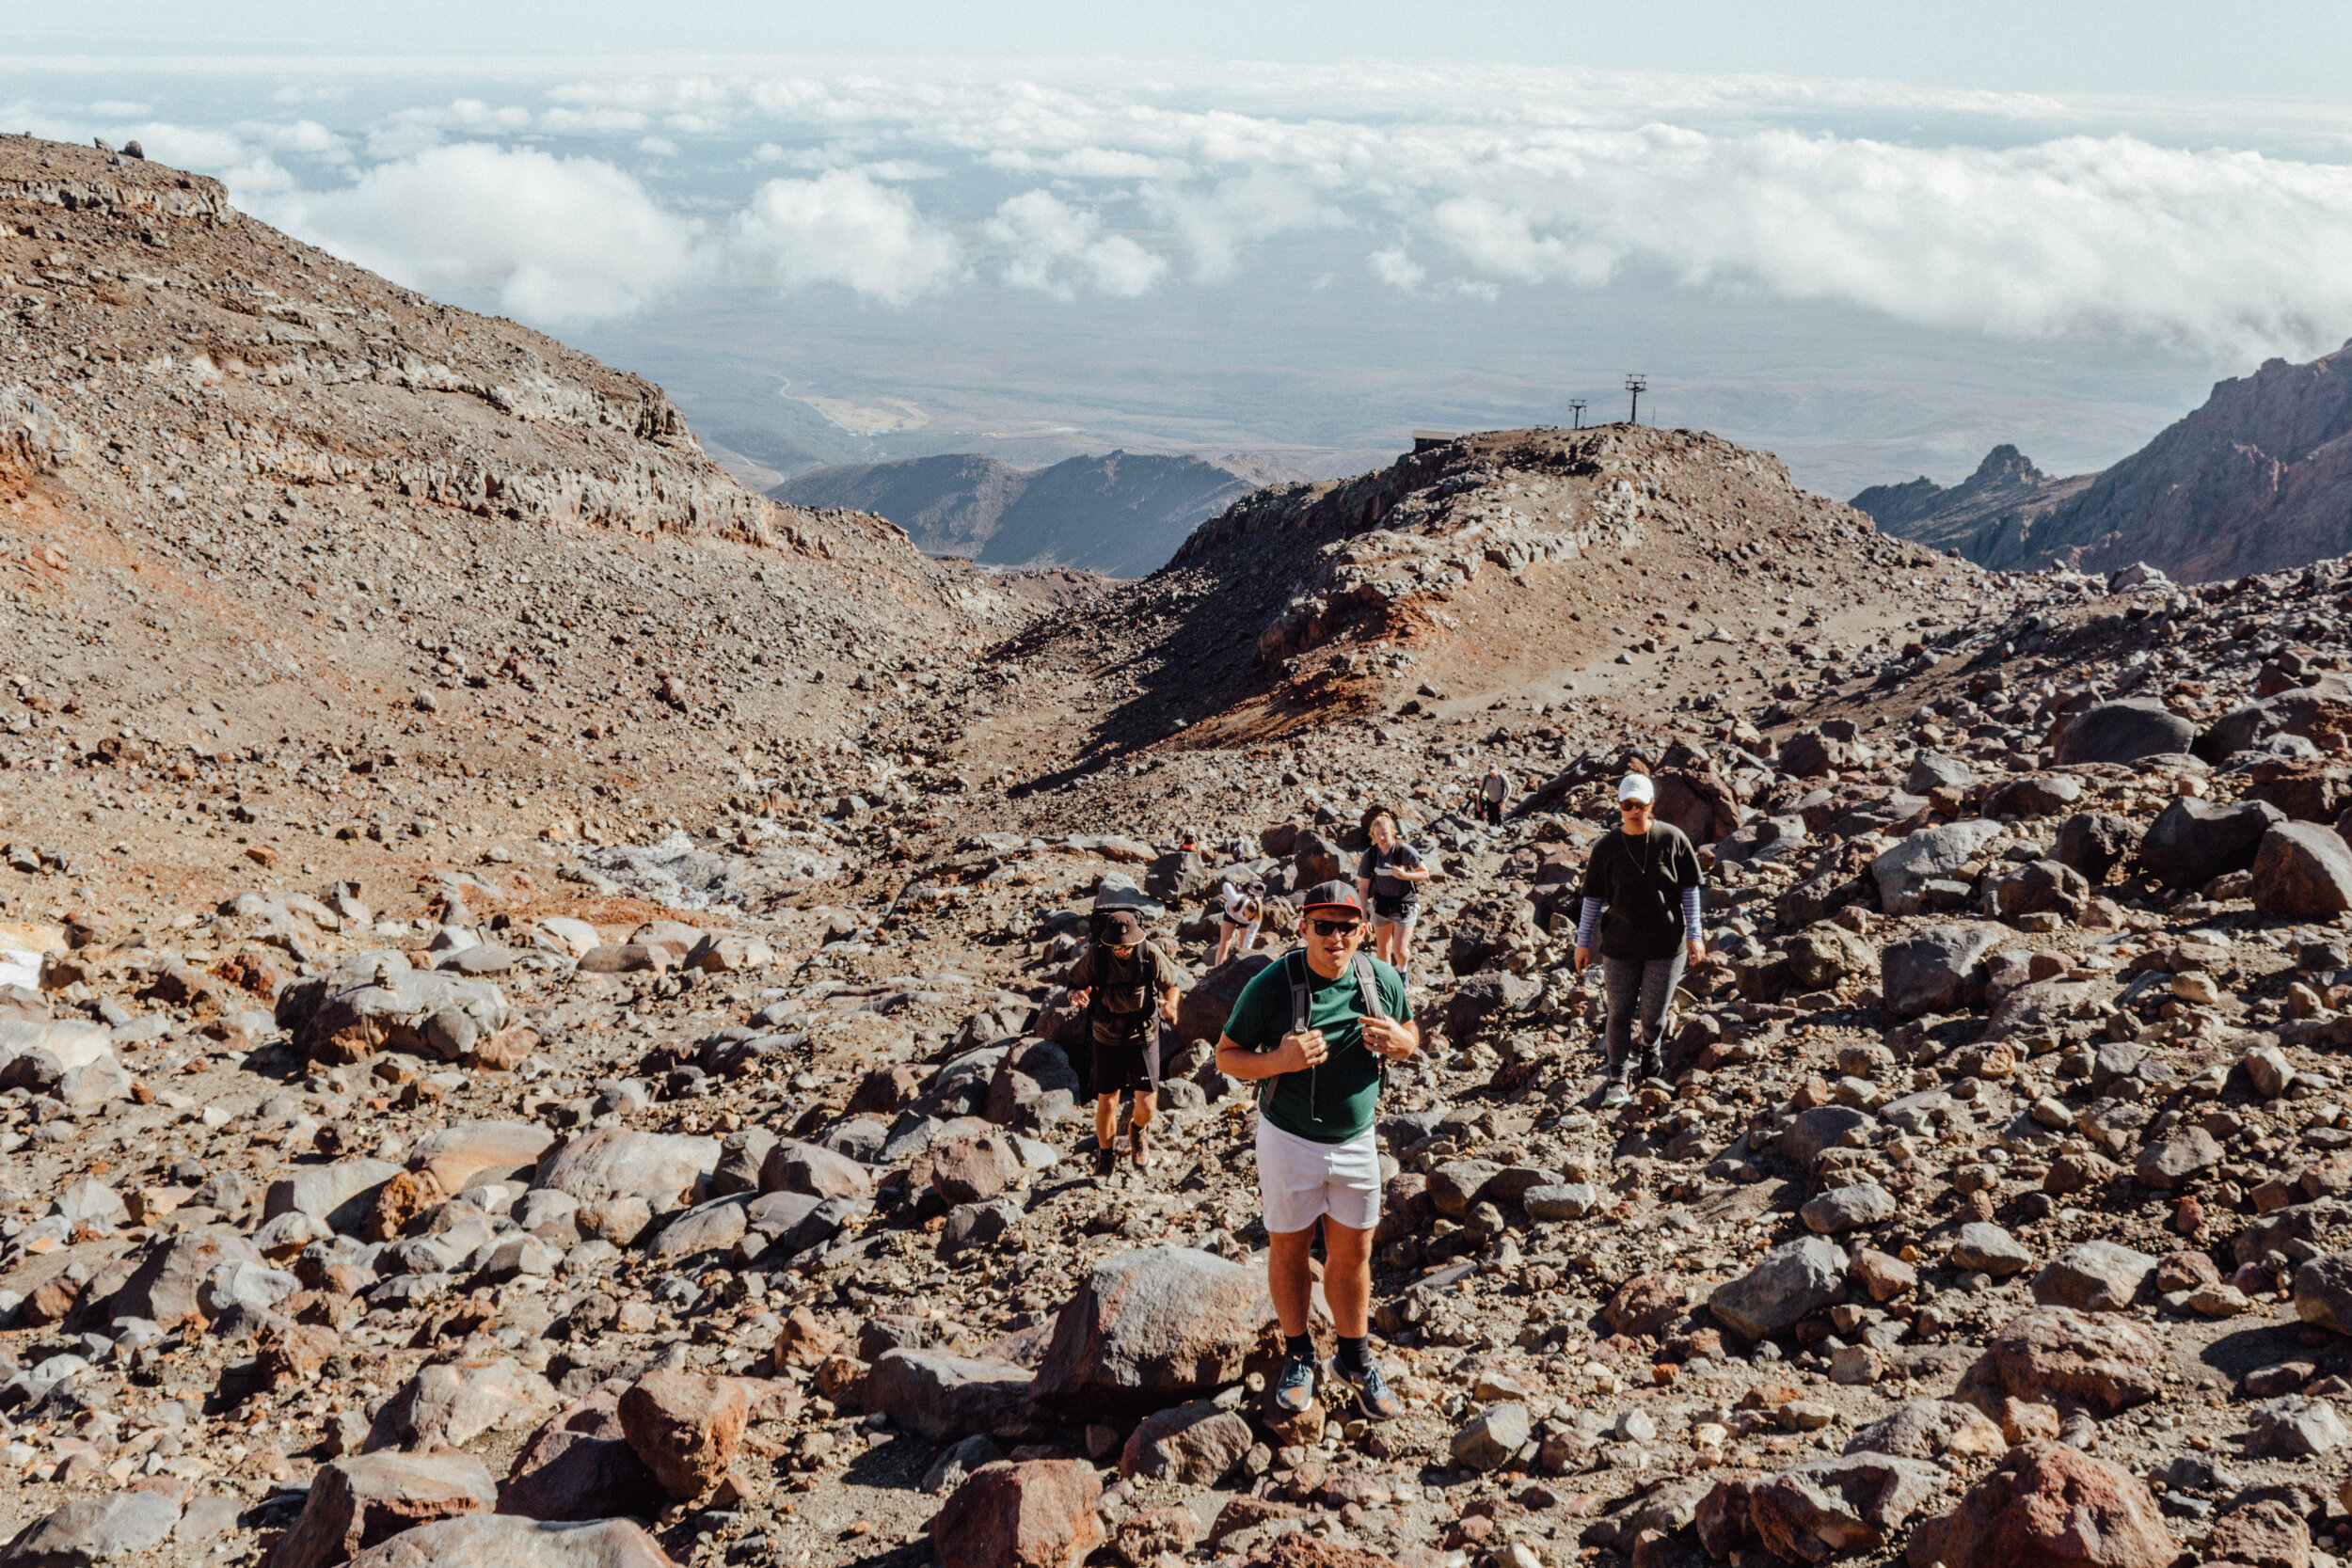
SAM ON THAT INCLINE
parking, packing, + prepping: hike logistics for Mount Ruapheu ↴
There is a free parking lot at Iwikau Village in the Whakapapa Ski Area. From the parking lot, you have two options:
Hike the whole way up
Take the Sky Waka {chairlift/gondola} up to the Knolls Ridge Café and hike up to the crater from there
If you hike all the way…
Hike time: approximately 7 hours roundtrip
Distance: 10 kilometers
From the parking lot, follow a wide road to the top of the Rangatira Express Chairlift. From here, you’ll follow the marked “Waterfalls” trail to Knoll Ridge Cafe, which is located at the top of the Waterfall Express Chairlift.
if you take the sky waka part of the way up…
Hike time: approximately 5 hours roundtrip
Distance: 7 kilometers
From the parking lot, you’ll need to walk to the information center and purchase your Sky Waka ticket. The Sky Waka ride costs NZD $50 per person roundtrip and cuts out around 1.5-hours worth of hiking. The waka will take you to Knoll Ridge Café, where you’ll begin your hike. Begin the walk from there.
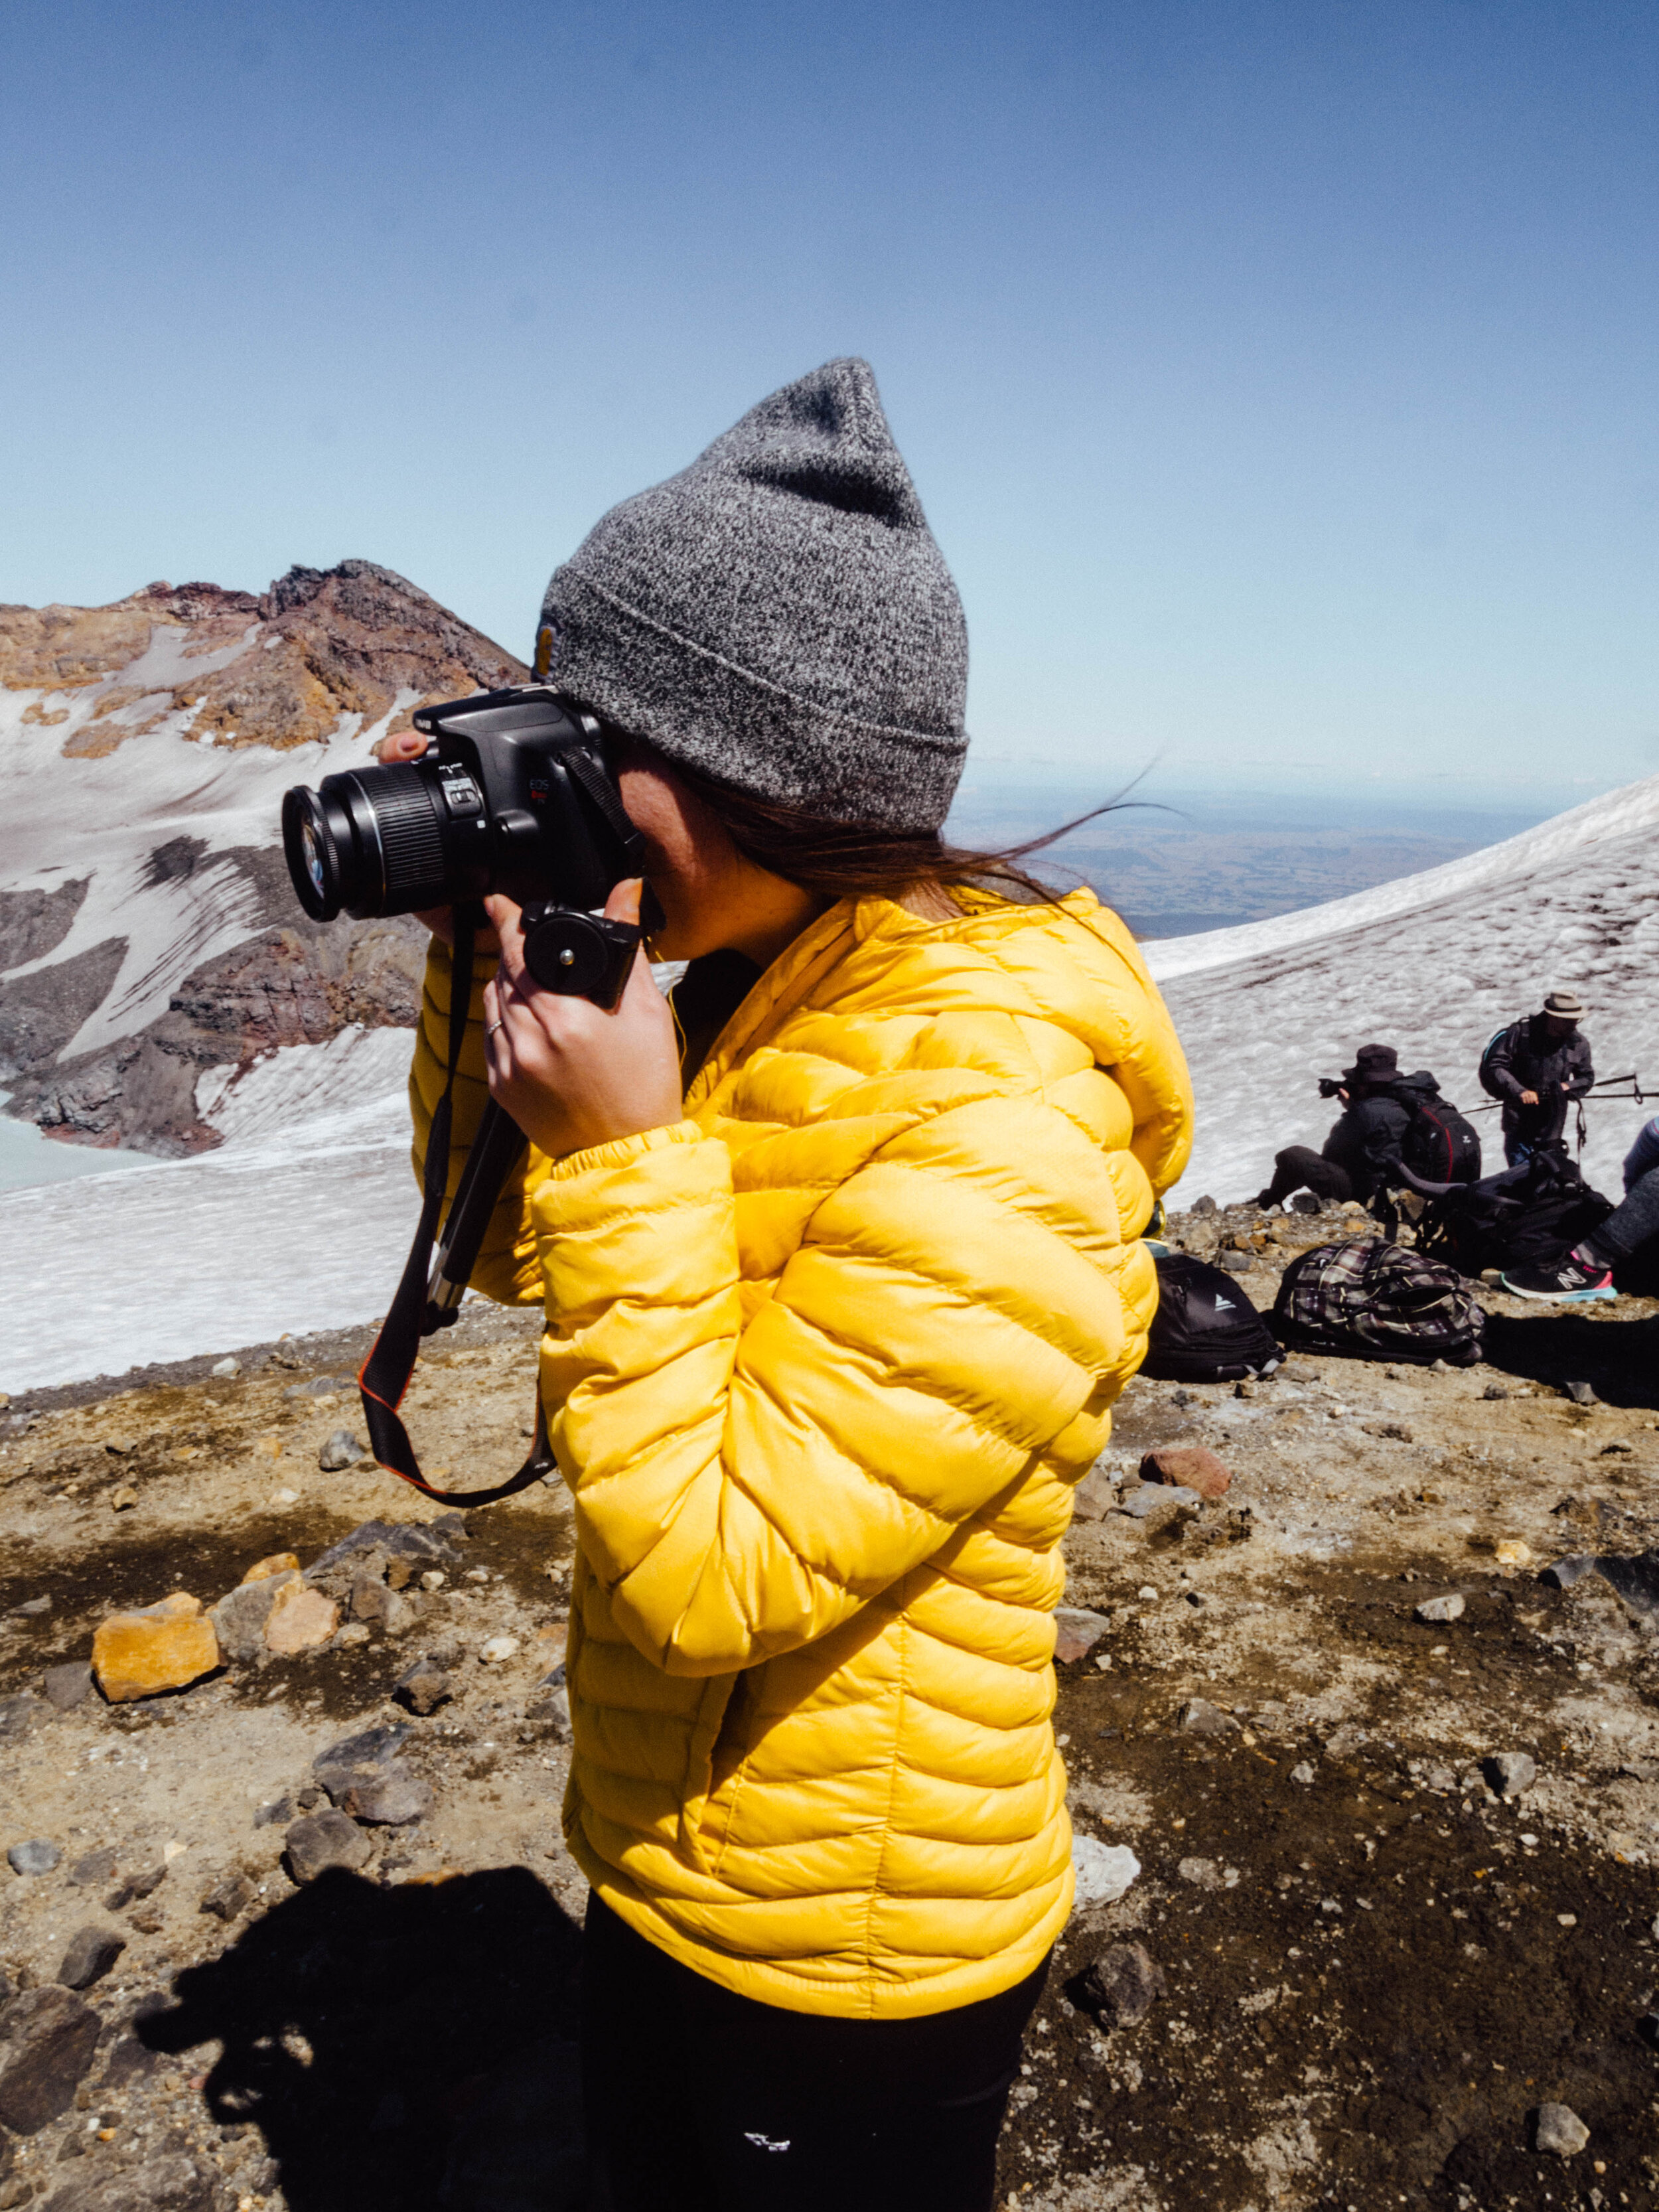
make sure you bring…
water, more than you expect to drink
a baseball cap
sunglasses
snacks
hand-sanitizer, to use at snack breaks
extra warm layers for at the top
a warm hat/beanie
sunblock/suncream
our Mount Ruapheu hike ↴
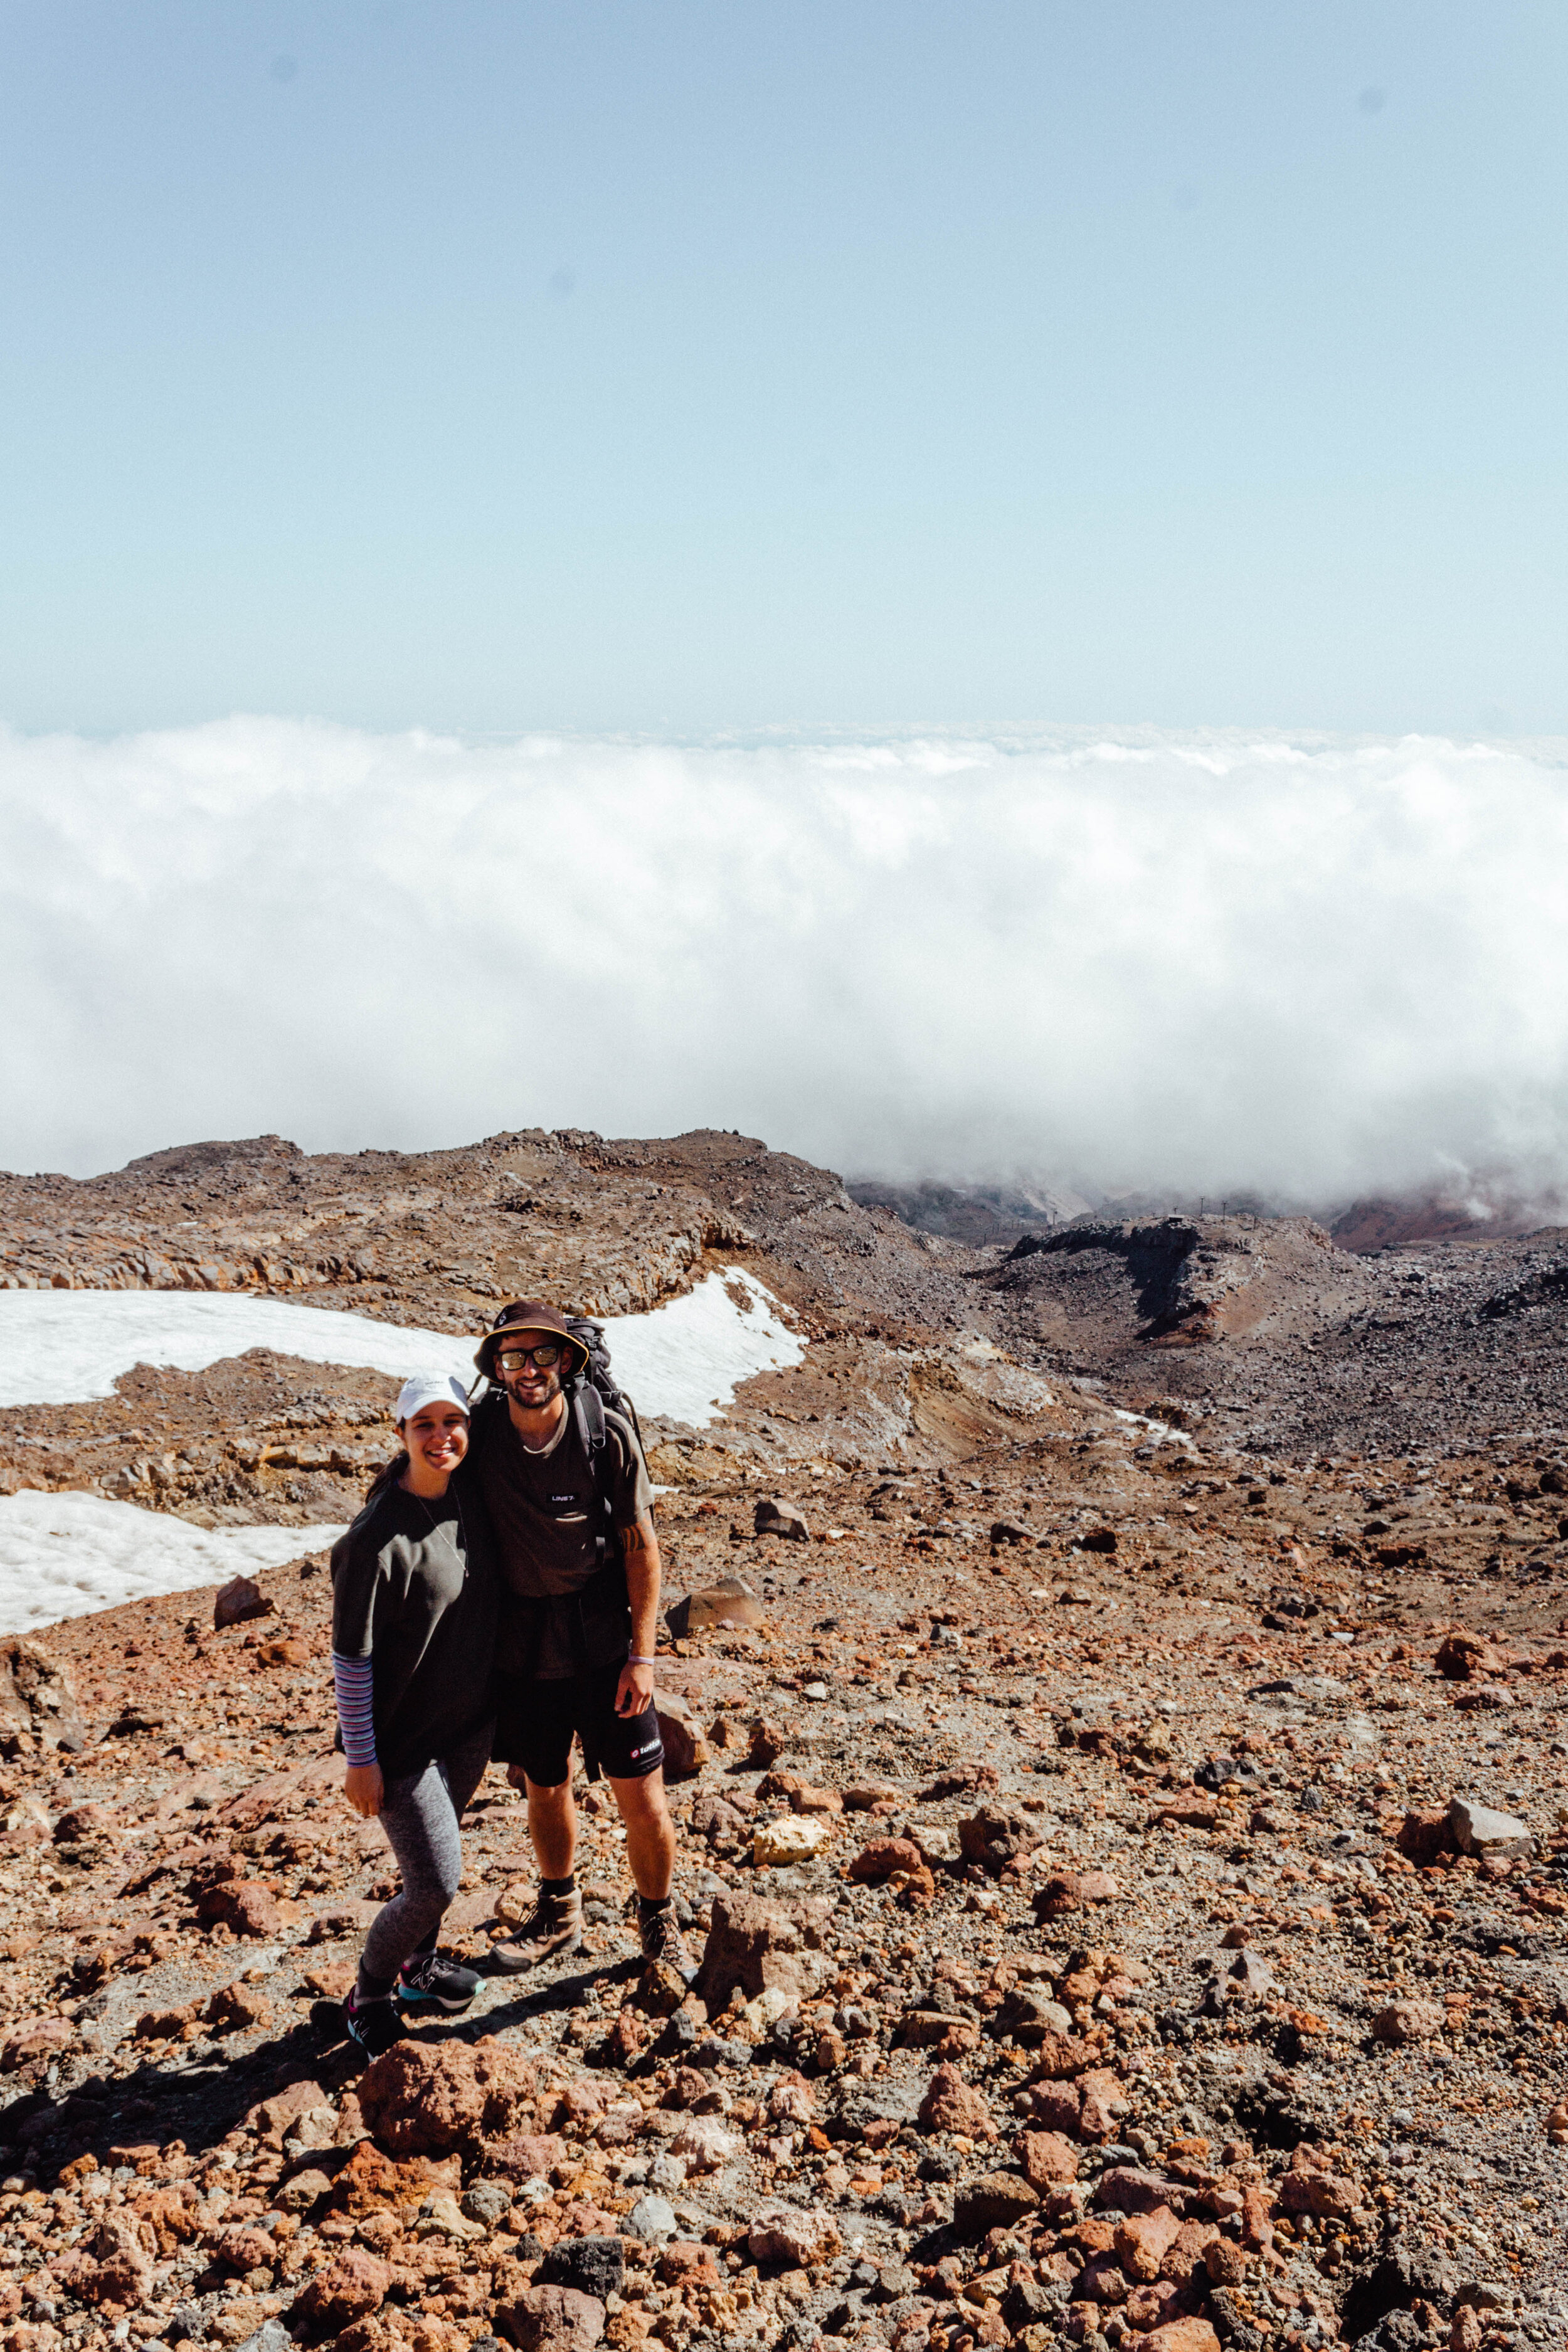
We parked in the lot and purchased our tickets from the information center. Our group made a point to be at the Sky Waka for opening {9 AM} so that we could be one of the first groups up. After the Sky Waka {gondola} took us to the Knoll Ridge Café, we made last-minute bathroom stops and headed out on our way.
This is where writing a blog post with information about the hike gets a little difficult to do, since we essentially created our own trail up the mountain. It’s a little vague, sorry. At one point, half our group followed Keegan up a route he was making along some larger rocks, while Ellen and I followed Sam up a more direct route that meant us scaling tiny volcanic gravel. It felt like for every two steps we took we slide back almost four. At one point, I felt like I was truly digging up the path with my hands. Sounds a little dramatic, but Benner took a picture of the incline and…it’s serious business.
This article is pretty helpful in hindsight. The lads had done the research and sorted us out just fine so I only found it online while preparing to write this post. Here’s a helpful excerpt:
From the top of the Waterfall Express chairlift travel to your right past the Knoll Ridge T-bar pylons and over to Restful Ridge. Stay on Restful Ridge as you climb towards the crater area. You will go up a series of rises. At the top of Restful Ridge there is a more open face. From this point follow the narrow foot track zigzagging up the side of and along Dome Ridge.
We went down a different way than we came up, where there were larger boulders and a more established path {again, when I say “path” I want to be clear that it was not marked nor was it a “visible footpath”, it made more logistical sense}.

WOULDN’T MIND STAYING IN THIS HUT ON RUAPEHU, BUT ALAS IT’S NOT AN OPTION
where to stay near Mount Ruapheu ↴
Bachs, cabins, huts, and homes that sleep 12+ people— you can find just about anything you need near Ruapehu. You’ll probably not want to drive far to shower and rest up post-hike. And, before your hike, it’s ideal to get a good sleep somewhere within close proximity to the mountain. There are plenty of AirBnB options around the Lake Taupo area, which is where I’d recommend you find yourself a place to stay.
AirBnB is where Benner found our sweet stay. Our group of 7 found home at a massive lakeside bach with every amenity you need for a camp-y weekend. Amenities included: an outdoor shower, two bathrooms, four bedrooms that slept 10, kayaks, a trampoline, and a prime location {the lake was our backyard}. It felt so good to complete the hike, make a big family dinner to be enjoyed, and then swim off the beer and {bean} burgers in the lake. My top recommendation is to book yourself a place like we did and make the absolute most of your time in the area.
We love using Booking.com to book the best places to stay around the world.


